Your cart is empty
Shop our productsAn RV’s electrical system helps power all the appliances used while camping. Whether it’s outfitted with a mini-fridge, air conditioning, smart shower, lighting, or TV, they all rely on the electrical system for power.
Typically RVs rely on batteries, generators, and solar power to power these devices. While all such energy sources are reliable, they also need recharging. That’s what shore power is all about.
RVs have a power cord which when connected to an electrical pedestal in campgrounds power RV batteries and appliances. Here’s more about shore power connection.
What is Shore Power?
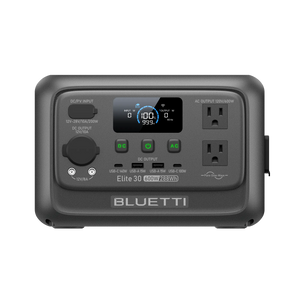
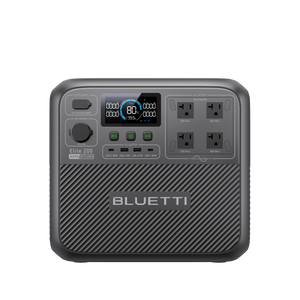
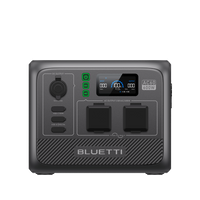
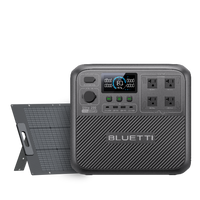
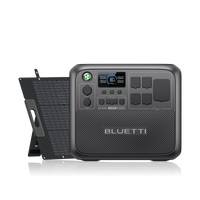
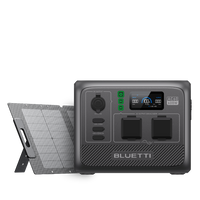
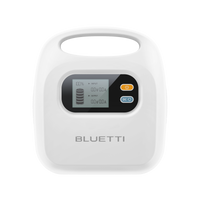
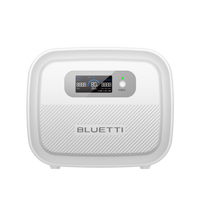
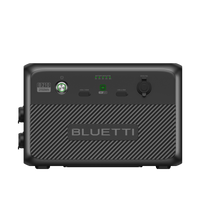
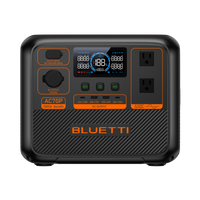
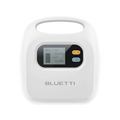
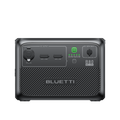
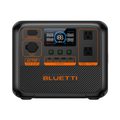
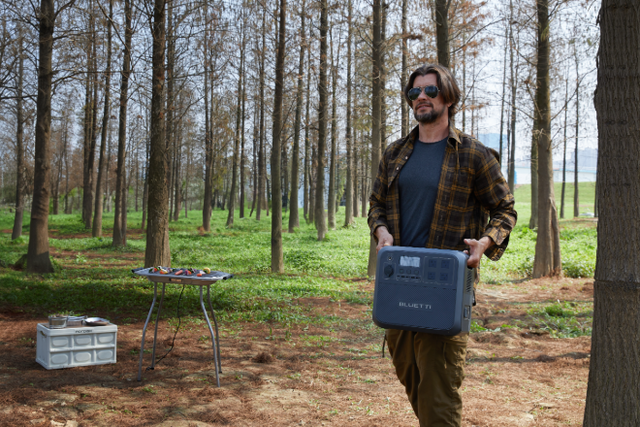
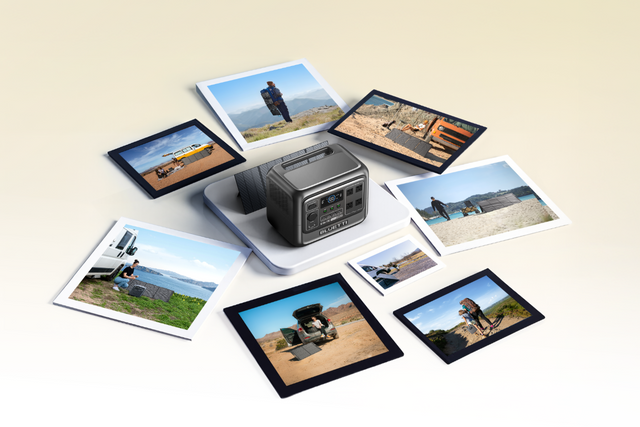
Shore power is an external power source for RVs, ships, and heavy-duty vehicles when idle. They’re electrical plug-ins that provide users with a reliable source of energy. Typically, RVs utilize batteries like BLUETTI EB3A Portable Power Station to power appliances.
Being a high-capacity battery, it can power large appliances like refrigerators for days and small devices like lights, mobile phones, and fans. Moreover, it’s powered by LiFePO4 batteries which last longer than traditional Li-ion batteries. They have a rating of 2500 charge cycles at a capacity of 80% so you’re likely to use the battery for a long time before it loses capacity.

Like any other battery, the EB3A battery needs recharging and the most common way of doing it is by connecting it to a 120-volt power source. RVs camping in areas with hookups can plug their RVs into shore power pedestals for charging.
Essentially, shore power was used to power ships to maintain their cooling, lighting, and heating needs while docked. The concept has been replicated across different industries, including campgrounds.
Campers visiting campgrounds in RVs can leverage shore power and save on solar power or battery charge for use when they hit the road. Shore power supplies the vehicle with AC (alternate current) electricity, which can be a 20, 30, or 50-amp connection.
What Kinds of Shore Power Are There?

There are three kinds of shore power:
- 20-amp power for small RVs or other towables
- 30-amp power for medium-sized RVs
- 50-amp power for larger rigs
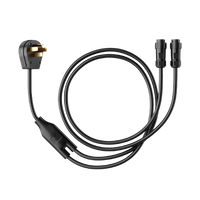
Most campgrounds have 50-amp and 30-amp cords for RVs, hence the need to invest in 30-amp or 50-amp adapters. Each has varying plugs for connection. The 50-amp plug has four prongs, and the 30-amp plug has three, so you must ensure you’ve plugged into the proper outlet.
Also, it’s worth noting that a 50-amp outlet can be paired with a 30-amp cord, but the vice-versa isn’t true. Typically, 30-amp systems supply 3600 watts of power, while 50-amp plugs generate 12,000 watts.
Thus, if your RV has a 30-amp cord, but the shore power is a 50-amp outlet, you can use an adapter to connect them. However, your RV will only receive the 3600 watts it’s designed for. You may also use the adapter to secure a 50 amp RV to a 30 amp system, but the shore power can only supply 3600 watts. As a general rule, using short extension cords and adapters minimizes voltage drops.
How Does RV Shore Power Work?

As mentioned earlier Shore Power supplies AC power to your RV to power devices that need this kind of power. AC (alternating current) power differs from DC (direct current) power. Sudden periodic changes in power flow characterize it, while DC power flows in one direction consistently over short distances.
AC power also changes to high voltage quickly and can be transmitted over long distances. That’s why it’s used on large electrical grids. When you plug in the RV into shore power, it supplies AC power to electrical devices using this type of power. It could be a fridge, AC, or blow dryer. AC power also runs through a power inverter for conversion to DC power to charge batteries.
It can be tempting to connect your RV directly to the shore power plug on the campsite and turn all the appliances on, but you must be cautious. It would help to test the hook-up with a polarity tester to ensure the wiring on the camping ground is working.
If it’s not working, the tester will alert you to avoid damaging your RV's electrical components. Next, switch off all the appliances in your RV and the circuit breaker before plugging the power cord into the shore power.
Once connected, switch them on. Consider installing a surge guard in your RV to protect your appliances from damaging electrical surges.
Boat Shore Power- How to Connect it

Typically, boats have a DC electrical system. It can start engines, power lighting, and other marine electronics. This system operates on 12V or 24V from the energy stored in the boat’s batteries and is replenished by its charging system.
The other energy source is the shore power system, which allows you to power devices using AC electricity. The boat gets plugged into a local utility to get this supply. Shore power will enable you to operate various appliances and tools aboard, including heaters, kitchen appliances, dehumidifiers, power tools, TVs, and stereos.
Connecting a boat to shore power with the right equipment is pretty straightforward. For this setup, we’ll assume we have a small boat; hence, use a 30 Amp shore power system. A 30 amp 120 V 50” cord is the most common in the market and can generate enough power to charge a battery and power a small air conditioner and water heater.
Also, the contacts on the plug only fit one way, eliminating polarity problems and providing a secure connection when the plug is twisted. Larger boats use 50 A 125 V or 50 A 125/250 V cords, assuming the marina offers a 50A service.
To connect the cord to the shore power pedestal, you must first turn off the circuit breaker pedestal to enhance safety. You’ll need a deck inlet to secure the cord to the shore power supply, which should be placed in an area that isn’t too exposed to water and where the cables aren’t too obstructive.
Deck or power inlets provide a waterproof connection for the shore power cord to avoid opening the hatch. From here, a 10 ga. Triplex wire runs to the AC distribution panel with a main breaker and reverse polarity indicator.
According to ABYC standards, a maximum of 10 feet must be between the main circuit breaker and the deck inlet. You may add a galvanic isolator, especially if your boat has aluminum outboards, outdrives, or sail drives.
The isolator disrupts galvanic currents between the dock and the boat, reducing the loss of zinc anodes and eliminating problems caused by other boats or the dock. Be sure to test the galvanic isolator before installing it to eliminate problems ahead of time.
The other distribution wiring can be done using a 12-20 AWG wire. If installing AC receptacles, ensure the first one in the series is a GFI receptacle to avoid electric shock. The GFI receptacles have a 5 mA trip and are essential in wet environments.
The other ABYC standards that must be followed when wiring the system to ensure correct installation and safety are:
- All the receptacles must be mounted in a box
- The AC ground should be connected to the engine block
- AC conductors must be bundled, sheathed, or kept separate from DC conductors when AC and DC conductors run together
- All the connections must be clamped and protected using crimp connectors with captive ends
- Connections in the bilge should be watertight
- Keep wires away from moving parts or hot exhausts
- Equipment and appliances designed for permanent installation should be mounted to the boat
FAQs
30 amp RV Shore Power Wiring Diagram

How to Switch RV to Shore Power
Switching your RV to shore power is pretty straightforward. Find the campground’s power pedestal (look for a box with outlets) and connect the power cord. Ensure it fits snugly. Be sure to park your RV properly for an easy, convenient, and secure connection. Next, find the circuit breaker panel (usually near the entrance) and flip the switch to an off position to avoid sudden power outages.
Then, set the power control panel to Shore Power mode to activate your RV to use external electricity instead of batteries. Your appliances and systems will operate, and they would at home, but you must avoid running all of them at once
How Long Does it Take to Charge RV Batteries on Shore Power?
The amount of time to charge RV batteries on shore power varies based on size. It could take an average of 10-40 hours, but group 24 batteries take a shorter time (5 hours). Also, those using Group 31 batteries can expect them to take longer to charge, usually 15 hours.
Conclusion
This guide should help you hook your RV or boat to an available shore power pedestal easily. Remember to match the power cord amps with your electrical supply and bring an adapter in case of a mismatch. A 30 amp cord should be connected to a 30 amp shore power pedestal, but if the campground has 50 amp power pedestals only, connect the power cord to an adapter to avoid system overloads or damaging your appliances. If in doubt, always consult an expert.
You Might Also Like:
| Average electric bill in Florida | Florida solar incentives | Average electric bill in Ohio | Best solar string lights | Mini fridge wattage | How much does a propane tank cost | What are rolling blackouts | 1 simple trick to cut your electric bill by 90% | Average electricity bill in California | Generator for food truck | How many squares of siding in a box | How heavy are solar panels | Los Angeles electricity cost | How to quiet a generator | Average electric bill in Arkansas | Standing charges | How many kWh does a solar panel produce per month | Best 400W solar panels | Do home warranties cover sprinkler systems | Average water bill in Albuquerque|
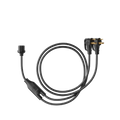
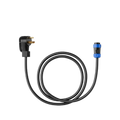
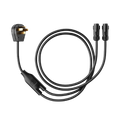
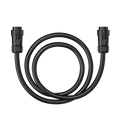
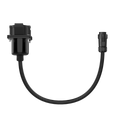
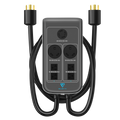
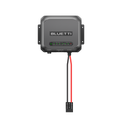
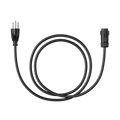
Shop products from this article
You May Also Like
Cherokee Electric Cooperative: Bill Pay, Outage Map, and Customer Service Guide
Cherokee Electric Coop is a local electric cooperative that provides reliable energy services to its members. This article provides important information about this cooperative, such as how to pay your...

Central Florida Electric Cooperative: Pay Bill | Outage Map | Customer Service | Phone Number
This article will discuss the services offered by Central Florida Electric Cooperative and provide customers with important information about how to pay their bills, check outages maps, get customer service,...
BVU Authority: Pay Bill | Check Outage Map | Customer Service | Phone Number
This article is all about providing readers with vital information about Bvu Authority, one of the leading utilities providers in the United States. We will cover topics such as how...

