


Your cart is empty
Shop our productsIf you've ever stared at a mess of wires and wondered whether they were actually safe for the load you're putting through them, you're not alone. One of the most overlooked parts of building or maintaining an electrical setup, whether it's at home, in a campervan, or on a solar system, is wire sizing. Choosing the wrong wire can cause anything from inefficiency to full-on fire hazards, and nobody wants to see smoke curling out from behind their carefully built panel. That's where a wire ampacity chart (sometimes also called a wire gauge chart) comes into play.
These charts aren't just abstract technical tables for engineers; they're practical tools that tell you how much current a specific size of wire can safely carry under given conditions. They protect your investment, make sure your system runs smoothly, and keep everyone safe. In this article, we'll walk through the basics of ampacity, how to actually read a wire ampacity chart without getting lost in the numbers, and why this stuff matters more than you might think. We'll also look at where it comes into play in everyday scenarios, from residential wiring to solar setups and even portable power stations. By the end, you'll see why those rows and columns of numbers are worth your attention.
What Is Ampacity?
Ampacity is short for “ampere capacity.” In plain language, it's the maximum amount of electrical current a wire can handle continuously without getting dangerously hot. When people look up a wire ampacity chart, they're basically asking how many amps this size of wire can safely carry.
Ampacity varies based on factors like wire size (gauge), insulation type, and temperature. A thicker wire (lower gauge number) has less resistance and can handle more current, but a thinner wire (higher gauge number) heats up more quickly. Insulation type also matters because different materials can withstand different temperatures before breaking down. Finally, you've got temperature ratings. What is safe in a cool environment might not be safe in a hot attic or engine bay.
The numbers in the chart are based on years of research, testing, and standards like the NEC (National Electrical Code), which help to keep things consistent. So, when you're looking at the chart, bear in mind that those numbers are more like carefully calculated suggestions than one-size-fits-all rules.

Reading a Wire Ampacity Chart
A wire ampacity chart may seem complex with its rows, columns, and abbreviations, but it's straightforward once you understand the layout.
Check out this step-by-step guide to help you make sense of it all:
-
Find the wire gauge: This is usually the left-hand column. Wire sizes are listed in AWG (American Wire Gauge), and remember that smaller numbers mean thicker wire.
-
Check insulation type and temperature rating: Different insulation types (like THHN, XHHW, etc.) are tested at specific temperatures, usually 60°C, 75°C, or 90°C. The chart will often give ampacities for each temperature.
-
Look at the ampacity columns: These numbers will tell you how many amps the wire can carry based on those ratings.
-
Pay attention to notes and footnotes: This is the part that many people ignore. Charts often include footnotes about conditions like bundling wires together or using them in conduits, which can change the actual ampacity.
-
Match to your system needs: Once you know the amp draw of your system, pick a wire that comfortably handles that load with a margin of safety.
For example, let's say you're wiring a 20-amp circuit. If the chart shows that 12 AWG copper wire can handle 20 amps at 75°C, you're good as long as your installation conditions match what the chart assumes.
It's all about matching your system's current draw to the chart's safe ampacity values. Once you've done it a few times, it becomes second nature.

Factors Affecting Ampacity
A wire gauge chart gives you standard numbers, but real-world conditions don't always match reality. A few factors can throw those numbers off, and it's worth knowing about them before you pick your wire:
-
Ambient temperature: Hotter environments reduce a wire's ability to carry current safely. That's why wires in attics, engine bays, or even tightly sealed cabinets sometimes need to be upsized.
-
Bundling: When multiple wires are run together in a conduit or taped bundle, they heat each other up. That extra heat lowers their safe ampacity.
-
Installation method: Wires run in open air can dissipate heat better than wires buried inside insulation or conduit. Charts often assume one or the other, so check carefully.
-
Material: Copper and aluminum wires are a little different. Copper handles more current for the same gauge, so aluminum needs to be upsized to handle the same load.
-
Length of run: Ampacity charts focus on current capacity, but long wire runs introduce voltage drop. That means you may need to size up not for ampacity, but to keep your voltage within safe limits.
Think of the wire ampacity chart as your baseline, and the above factors as modifiers. Ignoring them can lead to problems down the line, while accounting for them ensures your system works perfectly.
Common Applications
Where do these charts actually matter in everyday life?
Residential Wiring
When electricians wire homes, they depend heavily on the wire ampacity chart. A kitchen outlet circuit might require a 12 AWG wire on a 20-amp breaker. A dryer circuit might need 10 AWG. The whole system is sized based on safe ampacities to make sure you don't trip breakers or create hazards.
RV Systems
If you're traveling in a campervan, wire sizing is even more critical. DC systems often carry high currents at low voltages, so a misstep can mean overheating or melted insulation. Running a fridge, inverter, or fan off undersized wire is asking for trouble. That's why van builders should keep a wire gauge chart handy!
Solar Setups
Solar installations are another big one. Between panels, charge controllers, and batteries, you're moving a lot of current around. A wire ampacity chart makes sure those wires can handle the amps without wasting power as heat. Pairing solar panels with the correct wire gauge will improve their efficiency and extend their life.

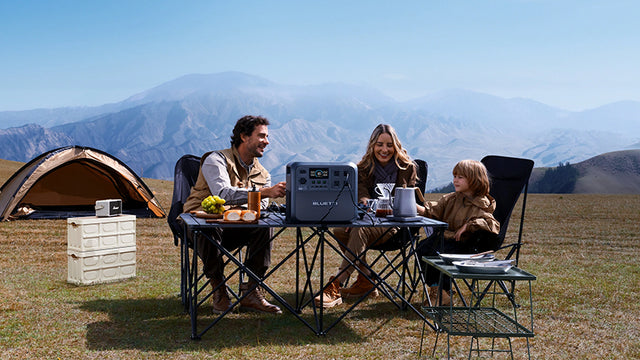
Why Ampacity Matters for Portable Power Stations
Portable power stations have become a go-to solution for people who want electricity on the move, but just because these units are designed to be convenient doesn't mean you can forget about the basics of wire sizing. The same rules you'd follow with household circuits or solar installations still apply here, and so once again, we need to refer to the wire ampacity chart.
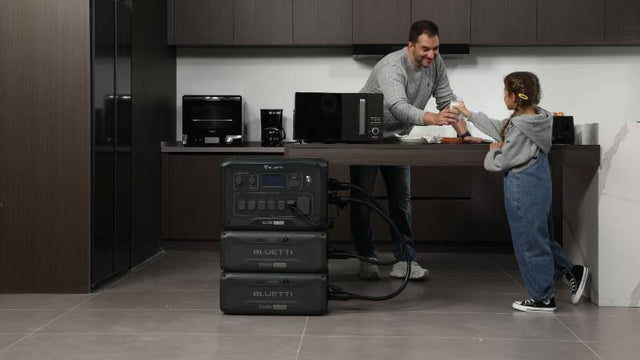
Current flows through wires when you connect your portable power station to appliances, a string of solar panels, or an extension lead, and if the wires aren't sized appropriately, you risk overheating and a resultant loss of efficiency. Powering a fridge using the wrong wire could cause the insulation to heat up, wasting energy and shortening the life of both the wire and the appliance. For this reason, checking a wire gauge chart is just as important when you're using portable equipment as it is when wiring a fixed installation.
It's great practice to calculate the expected current draw of your devices, compare it with the ampacity values, and then choose wiring that can comfortably handle that load. It might feel like overkill for something “plug-and-play,” but it's the difference between smooth, reliable power and running into preventable issues.
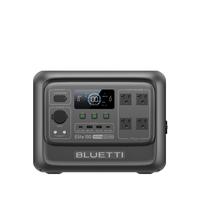
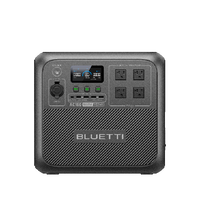
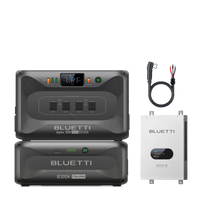
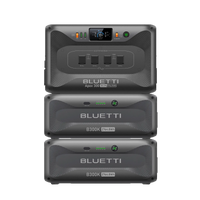
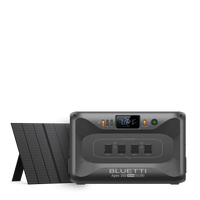
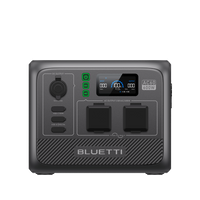
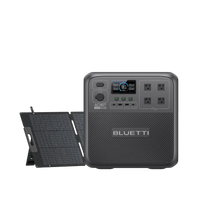
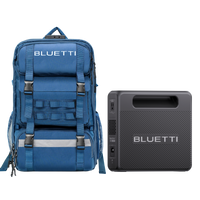
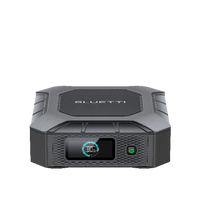
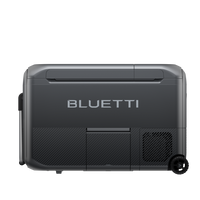
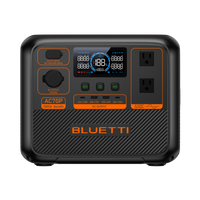
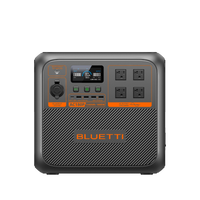
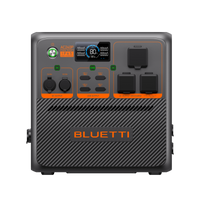
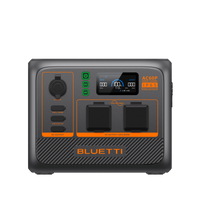
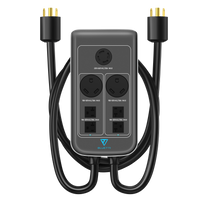
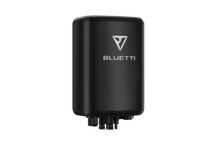
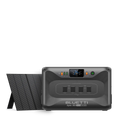
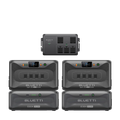
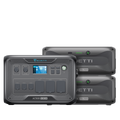
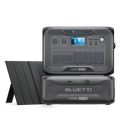
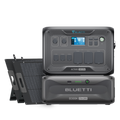
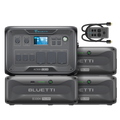
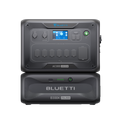
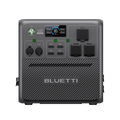
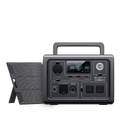
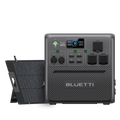
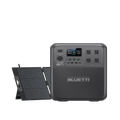
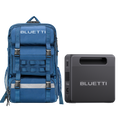
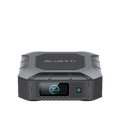
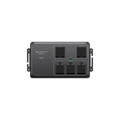
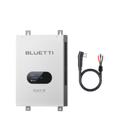
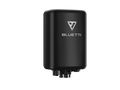
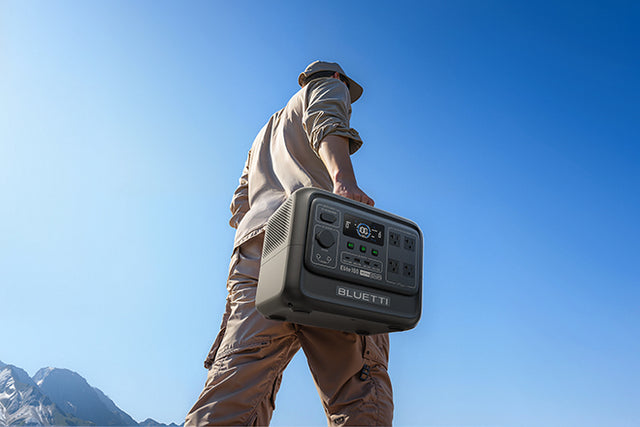
When it comes to picking a reliable unit, the Elite 100 V2 portable power station is perfect for lighter use cases (charging laptops, running lights, or powering a fan), and is compact and easy to carry, so it suits people who don't need huge capacity but still want reliable power. On the other hand, the Elite 200 V2 portable power station is a better match if you plan to run higher-draw equipment (coolers, small kitchen appliances, or tools). Both use lithium iron phosphate batteries, which are incredibly safe and durable.
In other words, no matter which unit you go for, the performance you get out of it still depends on respecting the numbers in your wire ampacity chart. The portable station delivers the energy, but it's the wires that carry it safely where it needs to go.
Safety Guidelines
Here are a few essential rules to keep in mind:
-
Never exceed the ampacity listed in the chart.
-
Use a wire gauge chart that's based on NEC or manufacturer standards.
-
Account for temperature, bundling, and installation method.
-
When in doubt, go up a size. It's safer to overspec than to underspec.
-
Use proper breakers or fuses matched to your wire size.
-
Don't mix aluminum and copper without the right connectors.
-
Keep manufacturer instructions close at hand, especially when dealing with portable power stations or specialized equipment.
Remember, the wire is just one part of the safety equation. Proper protection devices, careful installation, and common sense matter just as much.
Helpful Resources
If you're ready to dive deeper, there are plenty of places to find reliable charts and calculators.
-
Cerrowire has an excellent ampacity chart that's easy to follow.
-
EcoFlow provides a clear breakdown of understanding wire size amperage charts.
-
Encore Wire also offers a handy wire size table calculator.
Bookmark these and you'll never be more than a click away from the numbers you need.

Conclusion
At the end of the day, electricity doesn't really give you second chances. If the wire is too small for the job, problems will show up sooner or later, sometimes in ways you can't ignore. That's why leaning on a wire ampacity chart or a wire gauge chart is such a simple but powerful step. It takes the guesswork out and gives you clear numbers to work with. Whether you're sorting out circuits in a house, wiring up a campervan, setting up a solar array, or hooking devices to a portable power station, the rule never changes: pick a wire that matches the load and give yourself a margin of safety. Cutting corners might feel quicker in the moment, but it usually costs more in the long run.
If you want something portable to power your adventures, the Elite 100 V2 makes sense for smaller setups, while the Elite 200 V2 has the muscle for larger demands. Both rely on lithium iron phosphate batteries, so they're as safe and dependable as the wires you should be pairing them with.
So next time you're planning an install or even just double-checking your gear, grab a wire ampacity chart, and let it guide your choices. It's a small step that pays off in safety, performance, and peace of mind.
Wire Ampacity Charts for Copper and Aluminum Conductors
These charts provide ampacity values for insulated copper and aluminum/copper-clad aluminum conductors (≤2000V, ≤3 conductors in conduit/cable/direct burial, 30°C/86°F ambient), based on NEC 2023 Table 310.16. Use for residential, RV, solar, or portable power station wiring (e.g., BLUETTI Elite 100 V2, 200 V2).
Copper Wire Ampacity Chart (60°C, 75°C, 90°C)
|
Conductor Size (AWG or kcmil) |
60°C (140°F) (e.g., TW) |
75°C (167°F) (e.g., THHN, THWN) |
90°C (194°F) (e.g., THHN) |
|
18 |
— |
— |
14 |
|
16 |
— |
— |
18 |
|
14* |
15 |
15 |
25 |
|
12* |
20 |
20 |
30 |
|
10* |
30 |
30 |
40 |
|
8 |
40 |
50 |
55 |
|
6 |
55 |
65 |
75 |
|
4 |
70 |
85 |
95 |
|
3 |
85 |
100 |
115 |
|
2 |
95 |
115 |
130 |
|
1 |
110 |
130 |
150 |
|
1/0 |
125 |
150 |
170 |
|
2/0 |
145 |
175 |
195 |
|
3/0 |
165 |
200 |
225 |
|
4/0 |
195 |
230 |
260 |
|
250 |
215 |
255 |
290 |
|
300 |
240 |
285 |
320 |
|
350 |
260 |
310 |
350 |
|
400 |
280 |
335 |
380 |
|
500 |
320 |
380 |
430 |
|
600 |
350 |
420 |
475 |
|
700 |
385 |
460 |
520 |
|
750 |
400 |
475 |
535 |
|
800 |
410 |
490 |
555 |
|
900 |
435 |
520 |
585 |
|
1000 |
455 |
545 |
615 |
Aluminum/Copper-Clad Aluminum Wire Ampacity Chart (60°C, 75°C, 90°C)
|
Conductor Size (AWG or kcmil) |
60°C (140°F) (e.g., TW) |
75°C (167°F) (e.g., RHW, THWN) |
90°C (194°F) (e.g., XHHW) |
|
12* |
15 |
20 |
25 |
|
10* |
25 |
30 |
35 |
|
8 |
30 |
40 |
45 |
|
6 |
40 |
50 |
60 |
|
4 |
55 |
65 |
75 |
|
3 |
65 |
75 |
85 |
|
2 |
75 |
90 |
100 |
|
1 |
85 |
100 |
115 |
|
1/0 |
100 |
120 |
135 |
|
2/0 |
115 |
135 |
150 |
|
3/0 |
130 |
155 |
175 |
|
4/0 |
150 |
180 |
205 |
|
250 |
170 |
205 |
230 |
|
300 |
190 |
230 |
255 |
|
350 |
210 |
250 |
280 |
|
400 |
225 |
270 |
305 |
|
500 |
260 |
310 |
350 |
|
600 |
285 |
340 |
385 |
|
700 |
315 |
375 |
425 |
|
750 |
320 |
385 |
435 |
|
800 |
330 |
395 |
445 |
|
900 |
355 |
425 |
480 |
|
1000 |
375 |
445 |
500 |
Notes:
-
Asterisk (*) indicates NEC 240.4(D) limits for branch circuits: Copper (14 AWG: 15A, 12 AWG: 20A, 10 AWG: 30A); Aluminum (12 AWG: 15A, 10 AWG: 25A).
-
Conditions: ≤2000V, ≤3 conductors in conduit/cable/direct burial, 30°C (86°F) ambient.
-
Derating: Reduce ampacity for >30°C (e.g., 0.88 at 40°C/104°F) or >3 conductors (e.g., 0.5 for 7–9 conductors). See NEC Table 310.15(B).
-
Voltage Drop: For runs >50 ft, upsize to limit drop to 3% (e.g., for 20A at 120V, 100 ft: use 10 AWG copper instead of 12 AWG).
-
Applications: Use copper for residential/RV/solar (higher conductivity); aluminum for long runs (larger gauge needed). For BLUETTI Elite 100 V2 (15A, 120V), use 12 AWG copper; for Elite 200 V2 (22A), use 10 AWG.
