Your cart is empty
Shop our productsFlooding is one of those disasters that hits fast and costs big. Even a couple of inches of water creeping into your home can rack up thousands in damage.
Sure, cities have levees, dams, and drainage systems, but at the neighborhood level, one of the oldest and still most reliable tools is the sandbag. They're cheap, simple, and when used right, can keep water out of doorways, garages, and low-lying spots long enough to save you a lot of heartache.
The trick is in knowing when to use them and how to set them up. A properly filled and stacked sandbag wall doesn't just sit there; it channels water away, blocks weak points, and buys you valuable time in the middle of a storm.
This guide covers smart ways to fill and place sandbags and avoid common mistakes (like overfilling or stacking them wrong). And why pairing sandbag prep with a solid backup power plan can make your flood defenses even stronger.
When to Use Sandbags

Sandbags aren't a forever fix; they're meant for quick, short-term defense. Think of them as your emergency shield when water is coming fast and you need to hold it back long enough to protect the most vulnerable spots.
Some common ways people use them:
- Stacking a barrier to keep shallow water out of doorways, garages, or basement windows.
- Redirecting runoff so it flows around the house or business instead of through it.
- Adding extra support to levees, dikes, or embankments that might otherwise give way.
- Guarding important outdoor equipment like HVAC units, generators, or wells.
That said, it's key to know their limits. Sandbags work best for small-scale flooding. If the water's deep, fast, or rising across a wide area, they won't hold it back; you'll need to move to higher ground and rely on bigger defenses.
Situations Where Sandbags Work vs Where They Don't
|
Effective For |
Not Recommended For |
|
Blocking shallow floodwater at doors/garages |
Holding back deep or fast-moving water |
|
Diverting water flow around the property |
Permanent flood protection |
|
Supporting levees/temporary dikes |
Floods exceeding 2–3 feet |
|
Redirecting runoff in driveways/roads |
Long-term erosion control |
Materials You'll Need

If you're planning to use sandbags, don't wait until the rain is already falling; gather your gear ahead of time. Some towns hand out sand and empty bags during flood season, but it's smart to have a stash ready just in case.
Here's what you'll want nearby:
- Sandbags: usually burlap (they'll eventually break down) or polypropylene (synthetic and sturdier).
- Filling material: sand is ideal, but plain soil works if that's all you've got. Skip rocks or gravel—they don't pack tight enough.
- Shovel or scoop: the simplest way to fill bags without tearing them up.
- Gloves: trust me, your hands will thank you. The fabric can be rough.
- Buckets or a wheelbarrow: make hauling filled bags a lot easier than lugging them one by one.
- Plastic sheeting or a tarp: lay this down under your barrier; it helps cut seepage and makes your sandbags work harder.
Think of it like a mini toolkit for fighting off water. Having these on hand before the storm rolls in means you can focus on building your barrier instead of scrambling for supplies.
How to Fill Sandbags Correctly
A lot of sandbag walls fail not because the storm was too strong, but because the bags weren't filled right in the first place. The good news? A few simple tweaks make them work way better.
- Fill them only about halfway—think two-thirds full at most, roughly 30–40 pounds. If you overstuff, they turn into big, round lumps that don't stack tightly.
- Skip tying the bags shut—just fold the flap under. This makes it way easier to lay them flat and seal gaps when you're stacking.
- Work in pairs—one person holds, the other shovels. It's faster, safer, and your back will thank you later.
- Dry sand is best—it packs tighter and doesn't clump. If you only have damp soil, it'll still work, just not quite as neatly.
Think of it this way: the goal isn't to make "perfect" bags; it's to make snug, flexible bricks that fit together like puzzle pieces when the water's rising.
How to Stack Sandbags for Maximum Protection

The way you pile your sandbags matters just as much as filling them correctly. A sloppy wall leaves gaps where water sneaks in, but a well-stacked barrier can hold strong when the rain's pouring down.
- Start with a solid base—lay the first row flat, flaps tucked in and facing the inside of your wall. Keep them tight, with no gaps between bags.
- Think like brickwork—overlap the seams in each row so the joints don't line up. This gives the wall extra strength.
- Build a pyramid, not a tower—wider on the bottom, tapering in as you go up. That shape keeps it stable under pressure.
- Pack them down—press or step gently on each bag to squeeze out gaps and make the wall tighter.
- Add a plastic shield—drape heavy plastic sheeting on the water-facing side. It slows seepage and gives your wall more holding power.
Basic Stacking Method
|
Layer |
Placement |
Purpose |
|
First row |
Flat, tightly butted together |
Creates a solid base |
|
Second row |
Overlaps the seams of the first |
Reduces gaps and leakage |
|
Third row |
Tapered back slightly |
Adds strength against pressure |
|
Plastic sheet |
On the water side of the barrier |
Improves water resistance |
Common Mistakes to Avoid
Sandbags can be a lifesaver, but only if they're set up right. A few common slip-ups can make all that heavy lifting pretty much useless:
- Overfilling the bags—they turn stiff and lumpy, so they won't stack tight. Half-full is the sweet spot.
- Leaving little gaps—water only needs a crack to sneak through. Tuck and press bags snugly together.
- Forgetting the ends—if the wall just stops, water will go right around it. Always angle or tie off the ends to solid ground or a higher point.
- Bad lifting form—each bag can weigh 30–40 pounds. Bend your knees, not your back, unless you want to be sore for days.
- Waiting too long—once the water's at your doorstep, it's too late. Get the barrier up before the first surge.
Post-Flood Disposal

When the water finally recedes, the cleanup isn't just about drying things out. Those sandbags you stacked worked hard, but now they're a soggy, contaminated mess.
- Gloves on, always. Floodwater carries sewage, oil, and other nasties. Protect your hands.
- No second life for these bags. Once they've soaked up dirty water, they're weakened and unsafe to reuse.
- Check local rules. Many towns have drop-off points or pickup services for used sandbags. Don't just toss them in the trash.
- Deal with the sand carefully. If it's clean, you might spread it in gardens or use it for fill. But if it touched floodwater, treat it as contaminated waste and haul it to a proper facility.
- Scrub everything down. After bag removal, disinfect walls, floors, and any surfaces that were near the barrier.
Think of sandbag disposal as the last step in your flood defense plan; it's about keeping your
Emergency Power During Floods
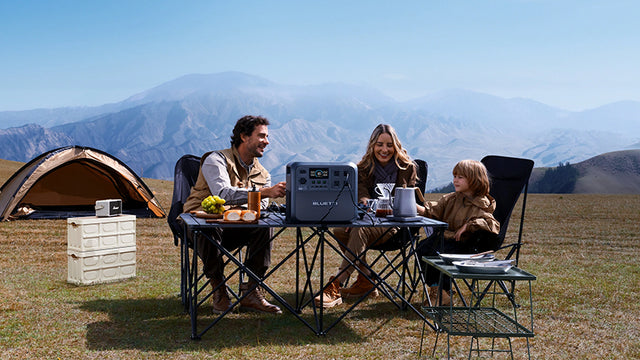
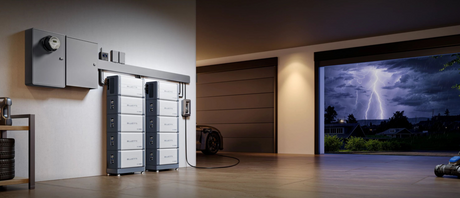
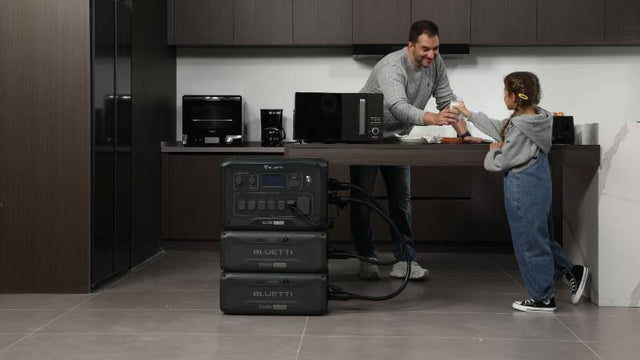
Floods almost never come quietly—they usually take the power with them. When that happens, sump pumps stop, phones die, and you're left fumbling in the dark at the worst possible time. That's why a portable backup power source isn't just handy; it's a lifesaver.
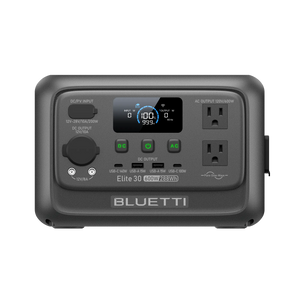
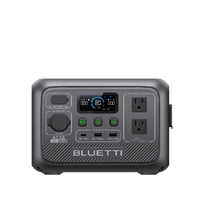
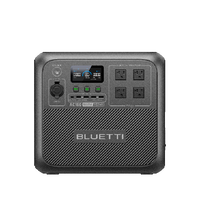
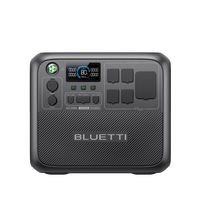
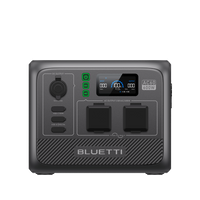
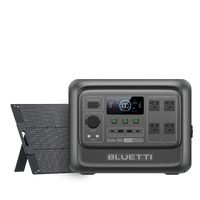
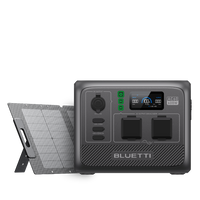
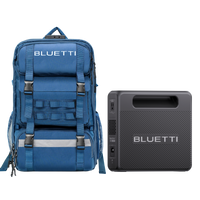
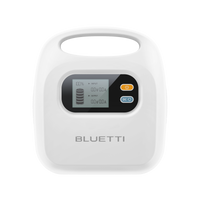
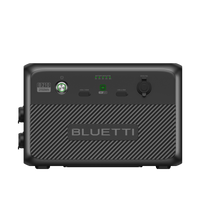
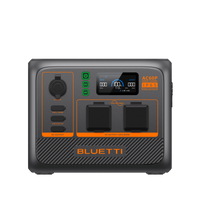
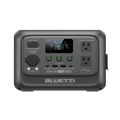
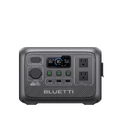
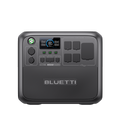
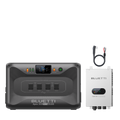
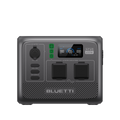
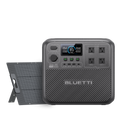
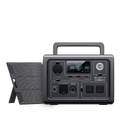
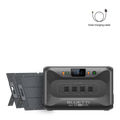
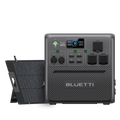
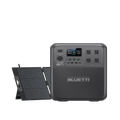
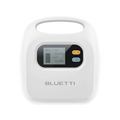
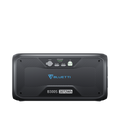
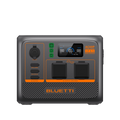
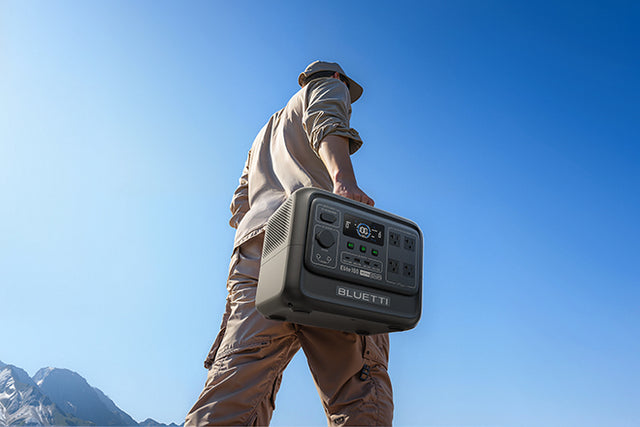
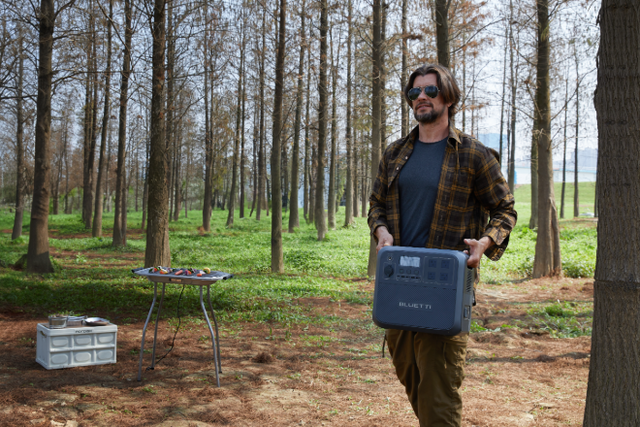
- BLUETTI Elite 30 V2: Small, light, and easy to carry. With a 288Wh battery capacity and multiple outputs (USB-C, USB-A, and AC), it's perfect for keeping your phone, radio, or flashlight alive while you're on the move between safe spots. At just under 10 lbs, it's built for grab-and-go emergencies.

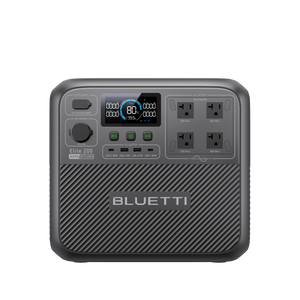
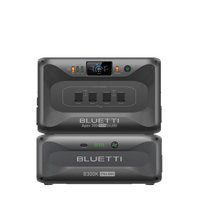
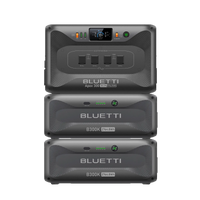
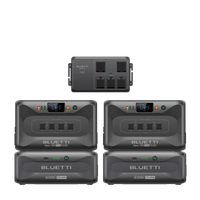
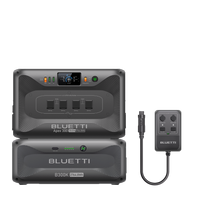
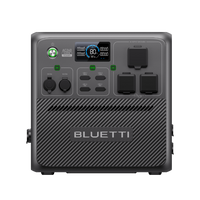
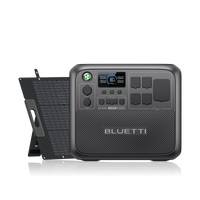
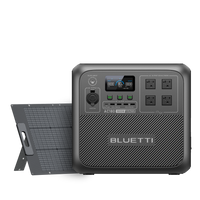
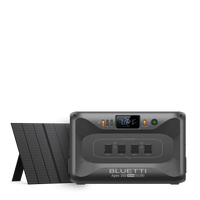
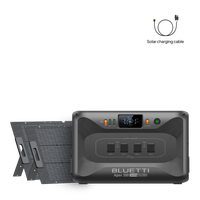
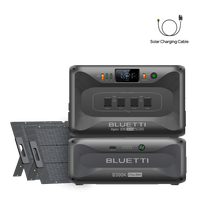
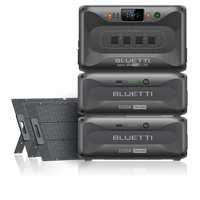
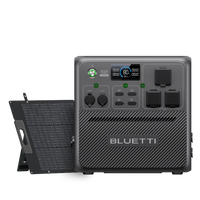
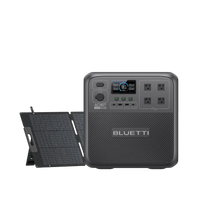
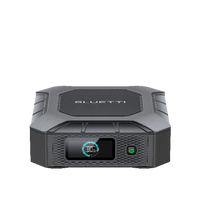
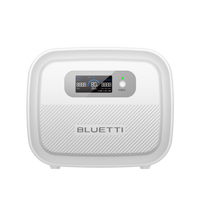
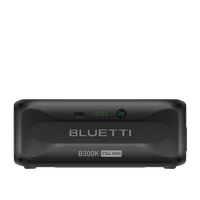
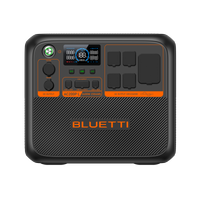
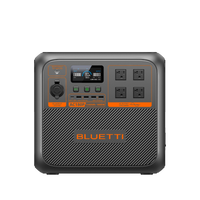
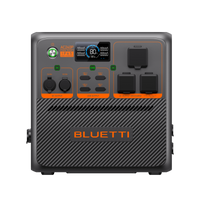
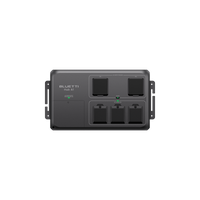
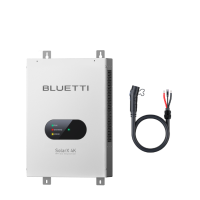
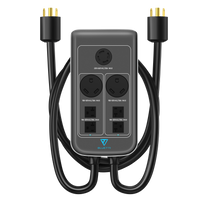
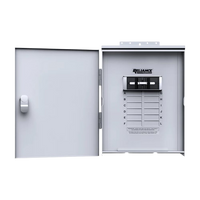
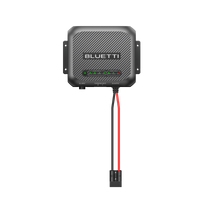
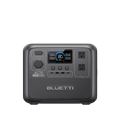
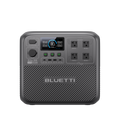
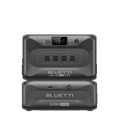
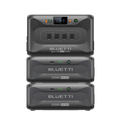
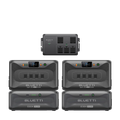
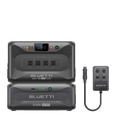
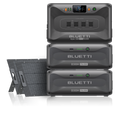
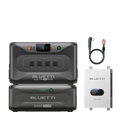
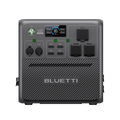
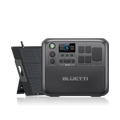
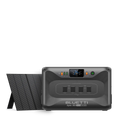
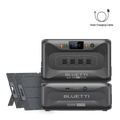
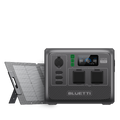
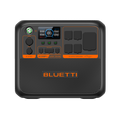
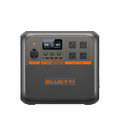
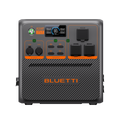
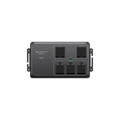
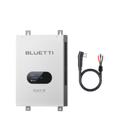
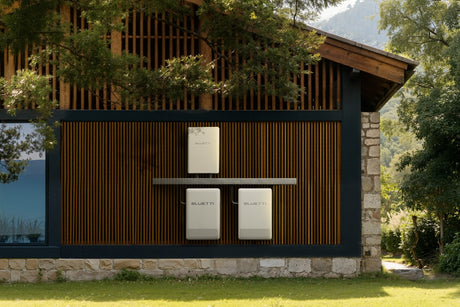
- BLUETTI Apex 300 Home Backup: A bigger option that packs more punch. Its 2764.8 Wh capacity can keep sump pumps running, power small appliances, and light your home long enough to ride out a longer outage. It also supports solar recharging, so you're not limited if the grid stays down for days.
Sandbags might keep the water out, but pairing them with backup power keeps you safer, too.
Safety & Preparedness Tips
- Don't wait until the water's already rising; get those sandbags in place ahead of time.
- Keep a stash of bags somewhere dry and easy to reach during storm season (you don't want to be digging around in the rain).
- Swap them out once in a while; burlap breaks down pretty quickly, while the plastic ones hold up longer.
- Have your other go-to gear handy too: a small water pump, a couple of flashlights, and a stocked first aid kit.
- And remember, sandbags are just a short-term fix. If you're in a flood-prone area, go for drainage upgrades or professional floodproofing.
Conclusion
When you stack them right, half full, layered like a pyramid, or with a sheet of plastic for backup, sandbags can hold back more water than you'd expect.
They're not a forever fix, but in an emergency, they buy you time and protection, especially if you've also got a backup power source on hand. Plan ahead, use good technique, and remember to clean up safely afterward. That way, you'll get the most out of this old but reliable line of defense.
FAQs
1. How many sandbags do I need for a doorway?
For a regular-sized door, plan on about 6–10 bags stacked in a pyramid shape. Bigger openings (like garage doors) will definitely need more.
2. Can I reuse sandbags after a flood?
It's not a good idea. Once they've been in floodwater, they're usually contaminated with sewage, oil, or chemicals. It is best to treat them as waste and dispose of them safely.
3. Should I use sand or soil to fill the bags?
Sand is the winner; it packs tightly and keeps water from seeping through as much. Soil will do in a pinch, but skip gravel or rocks, since they leave too many gaps.
4. How long will sandbags last?
If you're storing them dry, polypropylene bags can last 6–8 months. Burlap ones wear out much faster. Once they've been through an actual flood, though, think of them as a short-term fix only.
Shop products from this article
Be the First to Know
You May Also Like

Ring of Fire: What Happens If the Volcanoes Erupt All at Once?

Axial Seamount Eruption 2025: What Really Happens If This Volcano Blows
