


Your cart is empty
Shop our productsLight switches are an essential part of our daily lives, allowing us to easily control the lights in our homes with a simple flick. However, have you ever encountered a situation where your light switch won't turn off, no matter how many times you try? This can be frustrating and even cause safety concerns if the lights remain on for an extended period of time. In this article, we will discuss three common reasons why a light switch may not turn off and provide simple solutions to fix the issue. So if you're experiencing this problem, keep reading to find out how you can resolve it and regain control over your lights.
Why Your Light Switch Won’t Turn Off
If you've been struggling to turn off your light switch and it just won't budge, you may have a faulty switch. This can be frustrating, but before you call an electrician or rush to buy a new switch, there are a few things you can try to fix the issue yourself.
- Faulty or Worn-Out Switch
- Tripped Breaker or Blown Fuse
- Short Circuit or Miswired Fixture
Follow these three steps to troubleshoot and potentially solve the problem.
Step-by-Step Faulty Switch Troubleshooting Guide
The first thing you should do is inspect the switch for any visible issues. Sometimes, a loose connection or visible damage can be the culprit behind a switch that won't turn off.
1. Look for Loose Connections
- Turn off the power to the switch at the circuit breaker.
- Remove the cover plate and carefully unscrew the switch from the wall.
- Check the wires for any loose or disconnected connections and tighten them gently with a screwdriver (without over-tightening).
2. Check for Visible Damage
- Look for cracks, breaks, discoloration, or signs of burning.
- If damage is visible, replacement is likely needed. Test first to confirm.
3. Test the Switch
You can test the switch with the following:

1. Use a Voltage Tester (Correct Method)
Turn off the power at the breaker before working.
- Set your multimeter to continuity/ohms mode (or use a continuity tester).
- Place one probe on the screw terminal with the black (hot) wire and the other on the brass screw or the opposite terminal.
- Reading should be low resistance (near 0 Ω) when the switch is ON. Reading should be infinite (OL) when the switch is OFF.
- This ensures accurate testing without live voltage and avoids the danger of probing between two potentially hot wires.
2. Try a Different Switch
- Replace temporarily with another switch.
- If the new one works, the old switch is faulty.
- If it still doesn't work, there may be a larger electrical issue — call an electrician.
How to Replace a Faulty Light Switch
- Turn off the power.
- Remove the old switch.
- Disconnect the wires, noting their placement.
- Connect wires to the new switch.
- Screw the new switch in place.
- Turn the power back on and test.
Tripped Breaker or Blown Fuse
A light switch that won't turn off may be caused by a tripped breaker or blown fuse.
Check for a Tripped Circuit Breaker
- Locate your breaker panel (or subpanel in larger homes).
- Identify the tripped breaker (switch in OFF position).
Resetting the Breaker:
- Turn it fully OFF.
- Switch it back to ON.
If this doesn't work, call an electrician.
Blown Fuse
- A blown fuse has a broken metal strip inside.
- Turn off the main power before replacing.
- Replace with one of the same amperage.
- Turn the main power back on and test.
Short Circuit: Miswired or Defective Fixture

Before blaming the switch, check the light fixture.
Inspect the Light Fixture
- Check for proper wiring, no loose/exposed wires.
- Look for loose connections between wires and the fixture.
Test the Light Fixture
- Use a voltage tester to check current.
- Try a different light bulb to rule out bulb defects.
If problems persist, call a licensed electrician.
How to Replace a Light Switch
If other fixes fail, replacement may be necessary.
Step 1: Turn Off Power & Check Wiring
- Turn off the power.
- Remove the cover plate and pull the switch out.
- Ensure all connections are secure.
Step 2: Test the Old Switch
- Use a multimeter for continuity.
- No continuity means replacement is needed.
Step 3: Install the New Switch
- Turn off the power.
- Remove the old switch and note the wire positions.
- Install the new switch, secure connections, replace the cover, and restore power.
Quick Troubleshooting Checklist
Here we have discussed some common troubleshooting for your convenience:
-
Is the light switch stuck in the "on" position?
- Clean debris, use electrical contact cleaner.
- Gently free it using a screwdriver (power off first).
-
Is there an issue with wiring or the switch?
- Inspect for loose or damaged wires.
- Replace faulty switches.
-
Is there a power outage or electrical issue in the area?
- Check other devices in the home.
- Contact the power company or an electrician if needed.
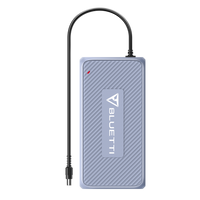
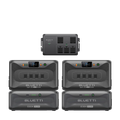
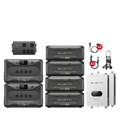
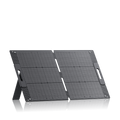
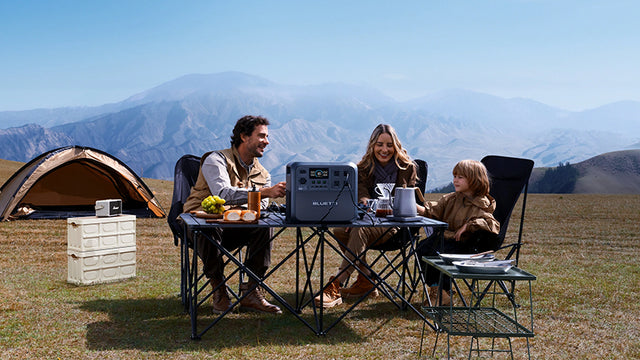
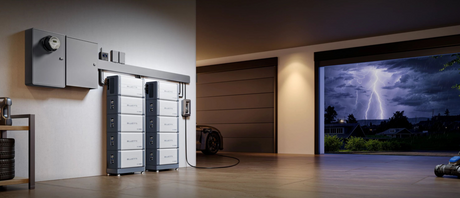
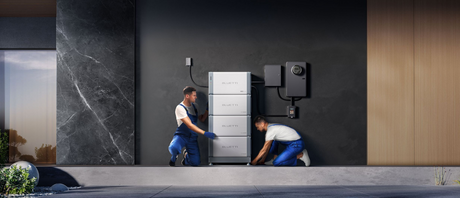
Portable Power Solutions for Electrical Emergencies
While troubleshooting a stubborn light switch, you may also face broader electrical problems like tripped breakers, blown fuses, or complete power outages. In such situations, a dependable portable power station can ensure your home, RV, or campsite remains functional until repairs are completed.
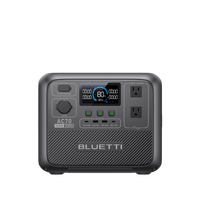
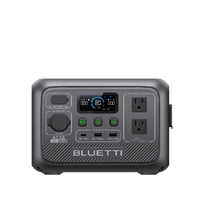
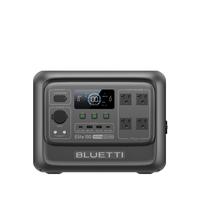
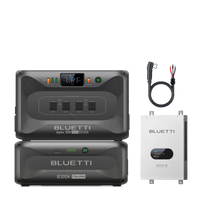
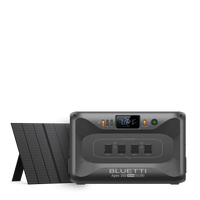
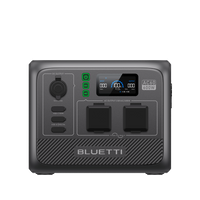
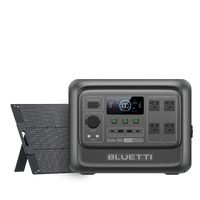
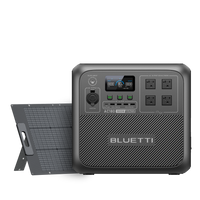
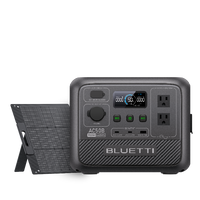
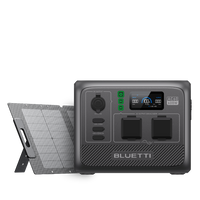
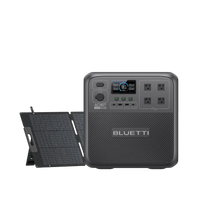
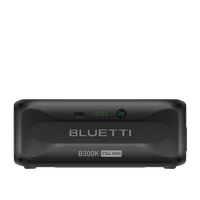
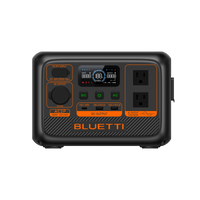
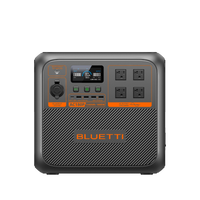
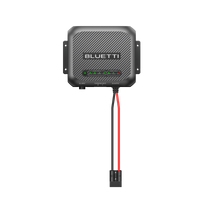
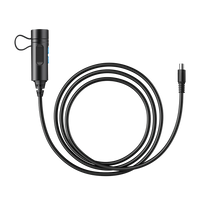
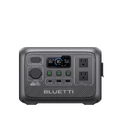
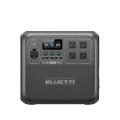
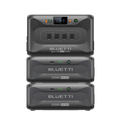
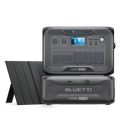
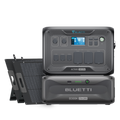
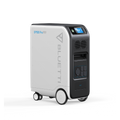
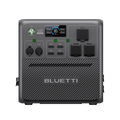
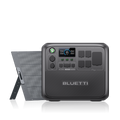
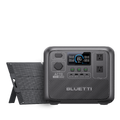
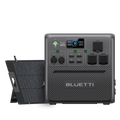
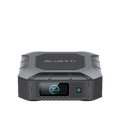
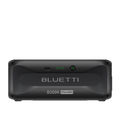
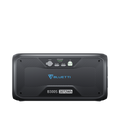
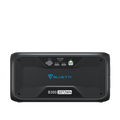
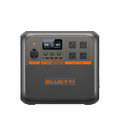
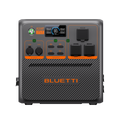
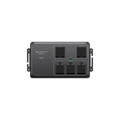
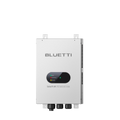
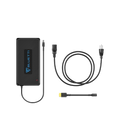
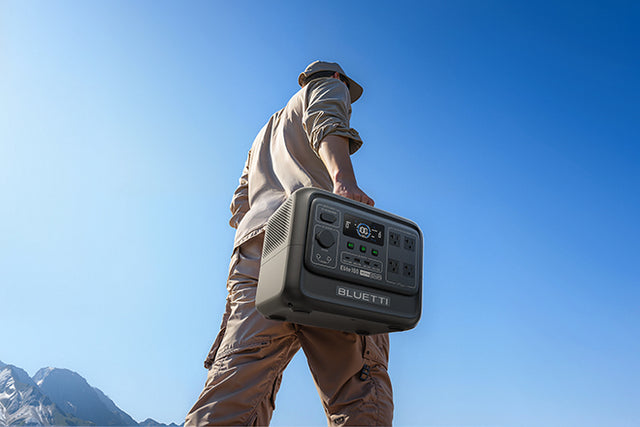
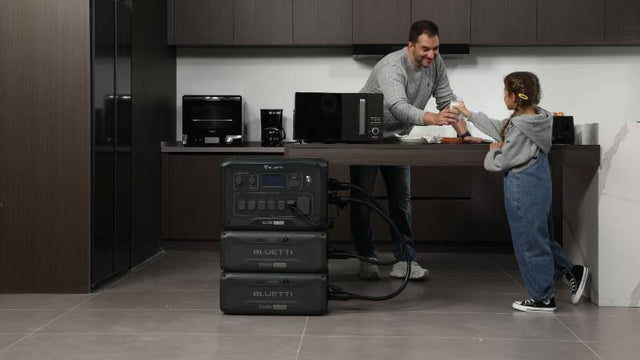
BLUETTI Elite 100 V2
The BLUETTI Elite 100 V2 combines portability with serious performance. Lightweight yet built tough, it's perfect for traveling to remote destinations. It can achieve a full solar charge in just 70 minutes using its 1,000W MPPT solar input, making it ideal for eco-conscious camping. Despite its compact size, it delivers enough power to run camping essentials like lights for over 51 hours, fans, portable grills, or even a fridge for more than 14 hours.
Its HyperVolt™ feature allows for a surge output of up to 3,600W, meaning it can handle energy-intensive gadgets like kettles with ease, and it runs quietly at just 30dB under 600W, making it perfect for peaceful nights outdoors. In emergencies, its <10ms UPS function keeps critical devices like medical equipment and servers running without interruption. With a 1,024Wh capacity, 1,800W continuous output, and a 10-year battery life from its 4,000-cycle LiFePO₄ cells, it's built for long-term readiness.

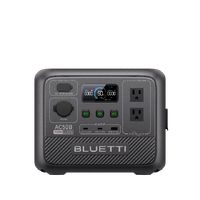
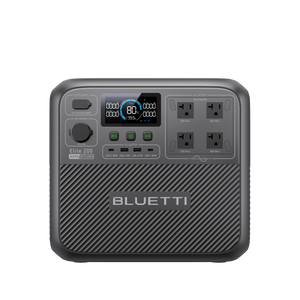
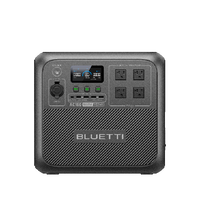
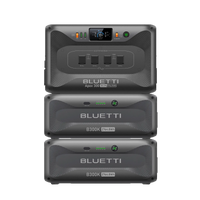
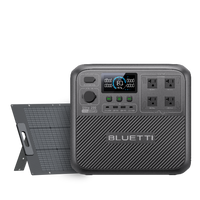
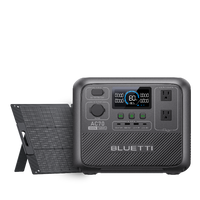
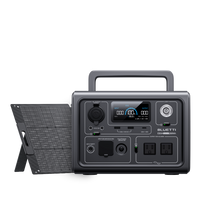
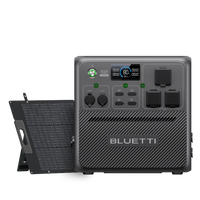
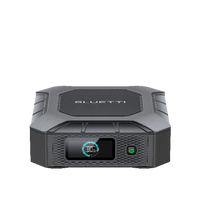
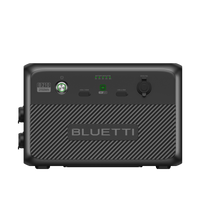
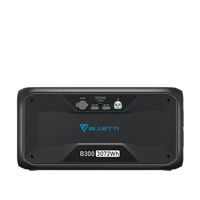
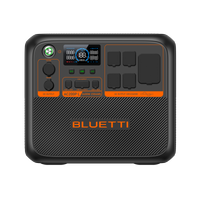
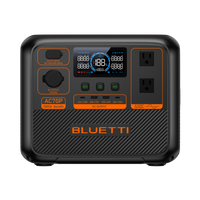
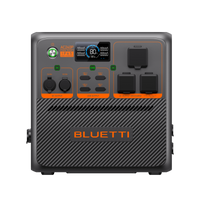
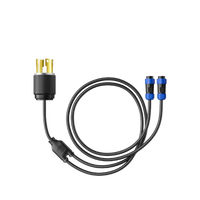
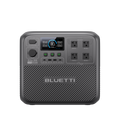
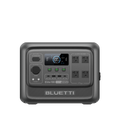
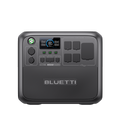
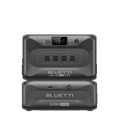
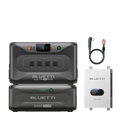
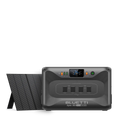
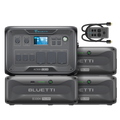
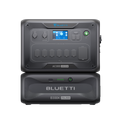
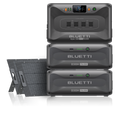
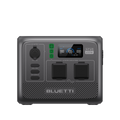
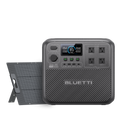
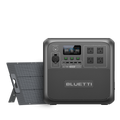
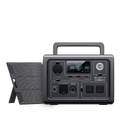
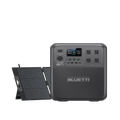
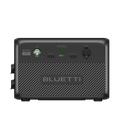
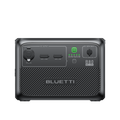
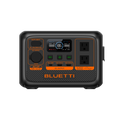
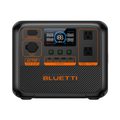
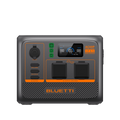
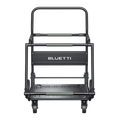
BLUETTI Elite 200 V2
For those needing even greater capacity, the BLUETTI Elite 200 V2 delivers heavy-duty performance for every scenario. It can power up to nine devices at once via AC, DC, USB-C/A, and car ports, and reaches 80% charge in just 45 to 66 minutes with dual AC+PV input.

Weighing 24.2kg and equipped with dual handles, it's built for both portability and robustness, supporting appliances like coffee machines, fridges, and drones, while operating quietly at only 16dB. Its 6,000+ cycle LiFePO₄ battery offers a 17-year lifespan, with a 2,073.6Wh capacity, 2,600W continuous output, and a 3,900W Power Lifting mode for heavy loads.
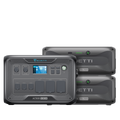
By keeping one of these portable power stations on hand, you can safeguard your household from disruptions, keep essential devices running, and enjoy the flexibility of clean, quiet, and reliable off-grid energy.
Final Safety Note
A light switch that won't turn off can be a frustrating challenge, but with the right troubleshooting steps, you can often solve the issue quickly and safely. And while fixing the problem is important, being prepared for any electrical disruption is just as crucial. That's where reliable backup power comes in. The BLUETTI Elite 100 V2 and Elite 200 V2 deliver heavy-duty capacity and versatility for powering your home essentials during extended blackouts. Stay safe, stay prepared, and never get left in the dark.
