


Your cart is empty
Shop our productsThere's a very particular smell you notice the first time your RV's fresh water system starts to go stale. It's subtle at first—something between plasticky and swampy—but once it hits the taps, you know it's time. Every long-term RVer has had that moment. You turn on the kitchen faucet to fill a coffee mug, expecting the familiar splash of clean water, and instead you get something that makes you hesitate. The taste is off, the smell is odd, and suddenly you're googling how to sanitize an RV water tank at 6 a.m. in a Walmart parking lot.
The truth is, sanitizing your freshwater tank isn't just a chore; it's a core part of RV health and hygiene. These tanks are closed, warm environments—perfect breeding conditions for bacteria, algae, mold, and biofilm. None of those are things you want mixing with your cooking water or making their way into a shower.
Proper sanitization ensures:
- clean drinking water
- safe cooking water
- no funky smells in the plumbing
- and a longer lifespan for your RV's water system
Most manufacturers and RV technicians recommend sanitizing every 6–12 months, though anyone who boondocks, fills up from unfamiliar sources, or stores their RV for long stretches should sanitize more often. If you've ever filled up from a rural spigot in Arizona or a forest campground in Oregon, you'll know why.
The process itself doesn't have to be complicated. With a few supplies, some patience, and a little understanding of what's going on inside the tank, anyone can do it. This guide brings together methods shared by RV experts, technicians, long-term travelers, and community tips from real RVers who have made sanitization part of their seasonal routine.
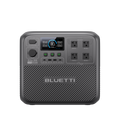
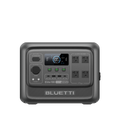
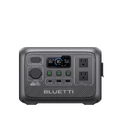
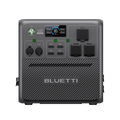
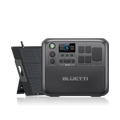
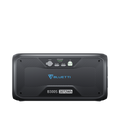
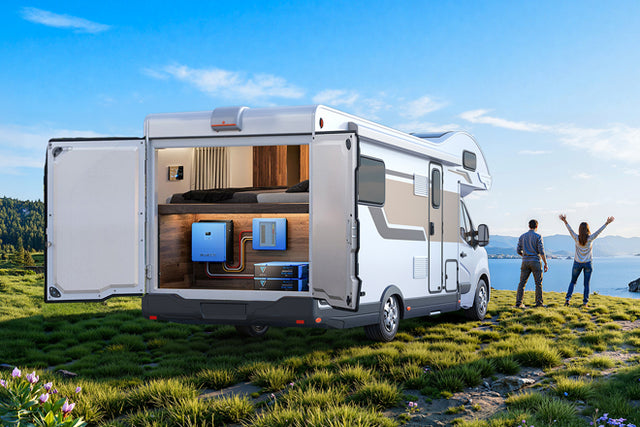
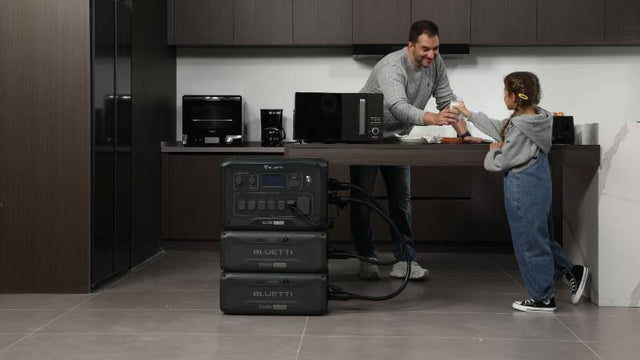
We'll also mention how reliable portable power, such as the BLUETTI Elite 200 V2 portable power station or the BLUETTI Apex 300 home battery backup, can support this process, especially for RV owners who rely on off-grid water pumps or need steady power for flushing cycles.
Let's dive in.

Materials and Precautions
Sanitizing your tank should feel methodical, not chaotic. Before you start, gather everything you need so the process runs smoothly from beginning to end.
Materials You'll Need
1. Unscented household bleach This is the go-to RV water tank sanitizer. Bleach is extremely effective at killing bacteria and quickly breaks down into safe byproducts (salt + water) when diluted correctly. Use only regular unscented household bleach (5–6% sodium hypochlorite). Avoid splash-less, scented, or ultra-concentrated (8.25%+) versions—these can leave residues or require different ratios.
Use ¼ cup of bleach per 15–16 gallons of fresh tank capacity. So for a 60-gallon tank, you'd need 1 cup of bleach.
Here is a simple bleach dosage table for your quick reference.
|
Tank Size |
Bleach (regular 5–6%) |
|
20 gal |
⅓ cup |
|
40 gal |
⅔ cup |
|
60 gal |
1 cup |
|
80 gal |
1⅓ cups |
|
100 gal |
1⅔ cups |
2. Clean water source Preferably, potable water from a reliable tap.
3. Funnel A simple tool, but essential for getting your diluted bleach mixture into the tank without wearing it like cologne.
4. Gloves Bleach isn't dangerous in small amounts, but skin contact is irritating.
5. Water container This is for mixing the solution.
Precautions Before You Begin
Bypass or turn off the water heater Most RVs have a bypass valve. If yours doesn't, simply switch off the heater and let it cool before beginning. You don't want bleach solution entering the water heater tank.
Don't overuse bleach More is not better. Strong bleach solutions can damage rubber seals and fittings.
Avoid splash-back Pour slowly and dilute bleach before adding it to the freshwater tank.
Be mindful of drainage When you flush out the tank, choose a location where chlorine runoff won't harm plants or sensitive ground.
Never mix bleach with other chemicals Especially vinegar—it forms chlorine gas when mixed directly. They can be used separately, just not at the same time.

Step-by-Step Process
This step-by-step walkthrough is based on RV technicians, Camping World recommendations, and tried-and-true methods from RV owners across multiple forums.
Step 1: Drain the System Completely
Think of this step as clearing space. You want all old water, stale water, and sediment out before sanitizing.
You'll need to open:
- The fresh water tank drain.
- The low-point drains.
- And run the faucets until the lines run dry.
If you've just come back from a trip where you filled the tank from campgrounds with questionable water sources, you might notice some discoloration or residue at this stage. Don't panic—this is why you're sanitizing.
This part often takes RV owners longer than expected because tanks drain slowly. Some people use the opportunity to clean the area around the RV, reorganize storage, or just sit in a camping chair and enjoy a quiet moment.
Step 2: Mix Your Bleach Solution and Add It to the Tank
This is the heart of the sanitization process.
Measure the bleach: ¼ cup per 15–16 gallons of tank capacity.
Don't pour bleach directly into the tank. Instead:
- Fill a large jug with water.
- Add your measured bleach to the jug.
- Stir or shake gently.
- Use the funnel to pour the diluted solution into the freshwater tank.
- Fill the rest of the tank with clean water.
It's worth slowing down here to avoid spilling. Many RVers have shared stories about splashing bleach onto their arms or clothes from rushing the process. Take your time.
Step 3: Circulate the Bleach Solution Through the System
Turn on each faucet—cold side only—until you smell bleach. Do the same for:
- kitchen tap
- bathroom tap
- shower
- Outdoor shower (if you have one)
- toilet flush
This ensures the bleach disinfects not just the tank but the entire plumbing system.
Here's where portable power can be especially helpful. Some people run this step while boondocking or while their RV is parked in storage. With something like the BLUETTI Elite 200 V2 portable power station, you can keep your water pump running steadily without relying on shore power.

Step 4: Let It Sit (4–12 Hours)
For maximum effectiveness, let the bleach solution sit at least 4 hours, but overnight is ideal.
During this time:
- The chlorine kills bacteria, yeast, mold, and algae.
- The movement of the RV (if you drive somewhere) helps slosh the mixture around.
A lot of RV owners swear by the "sanitize while driving" trick. They'll start the process at night, drive to a new campsite the next morning, and let the motion of the journey help coat every interior surface of the tank. It's surprisingly effective.
The water will not be drinkable at this stage—don't worry, that comes later.
Step 5: Drain and Flush the System Thoroughly
Once the solution has done its job:
- Drain the entire tank again.
- Refill it with clean water.
- Run the faucets until the bleach smell fades.
- Repeat flushing as many times as necessary.
This is the part that takes patience. Some RV systems flush out in one round. Others—especially older rigs—hold onto the chlorine smell longer. Use a chlorine test strip to confirm that the level is <4 ppm before drinking.
It helps to:
- Open all faucets simultaneously.
- Run the pump continuously.
- Use a reliable power source if not plugged in.
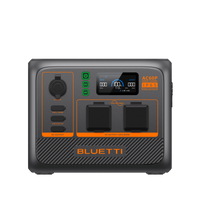
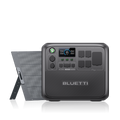
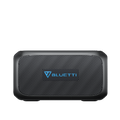
Again, the BLUETTI Apex 300 is a helpful companion when you're off-grid during this stage.
Once the chlorine smell is gone, turn the water heater back on and restore any bypass valves. Once the heater is full and hot, briefly run all hot water faucets (and the ice maker, if equipped) until you detect no bleach smell—this sanitizes those lines too.
Your system should now be completely sanitized.
Alternatives and Tips
Not everyone likes using bleach, and while it's the gold standard for sanitizing, other options do exist.
Alternatives to Bleach
1. White Vinegar Some RVers prefer vinegar because it's natural and milder. However, vinegar is not as effective at killing bacteria as bleach.
2. Hydrogen Peroxide A safer disinfectant than bleach, but it requires much higher volume and works best when left for long periods.
3. Commercial RV Water Tank Sanitizer Products Brands like Camco and Starbrite sell pre-measured sanitizing packets. They're easier to use but more expensive.
If you want the most reliable kill rate and the most universally trusted method, bleach remains the industry standard.
More Helpful Tips
- Use a water filter after sanitizing your system. Even a simple carbon filter helps improve taste and protect your plumbing.
- Don't drink water from the tank if it still tastes off. When in doubt, use bottled water until the system tastes fully neutral.
- Boondocking users should sanitize more frequently. Anytime you fill from a hand pump, ranch spigot, or remote campground, bacteria risk increases.
- Store your RV with an empty tank when possible. Stagnant water grows microorganisms quickly.
- Let the tank breathe occasionally. Opening the fill cap after trips helps release humidity.
Portable Power Tips

Sanitizing is one of those tasks that reminds RV owners how essential it is to have consistent electrical power, even when you're not hooked up at a campground.
During sanitization, portable power can:
- Run your water pump while flushing
- Power lights if working at night
- Power a shop vac if cleaning compartments.
- Keep tools charged
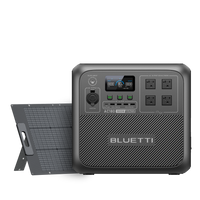
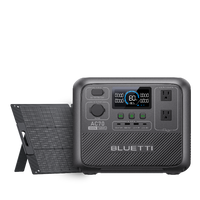
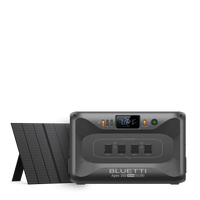
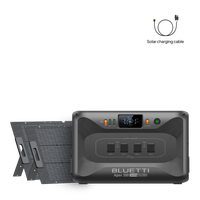
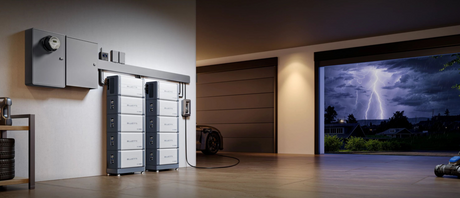
Two excellent options:
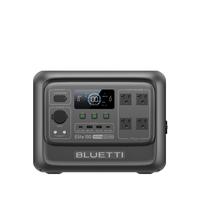
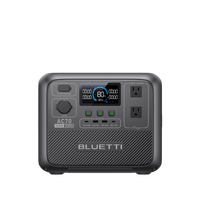
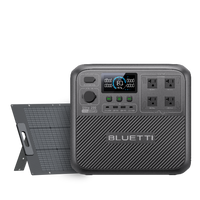
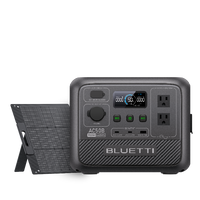
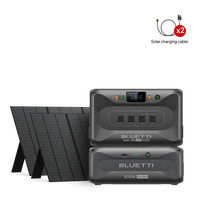
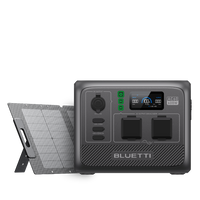
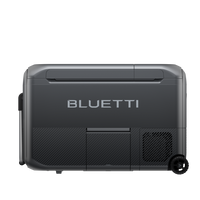
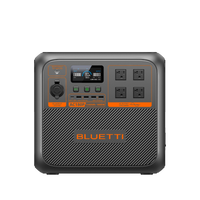
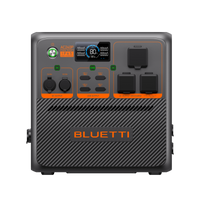
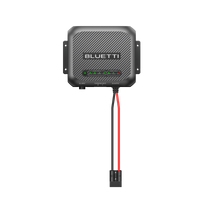
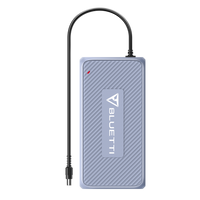
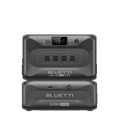
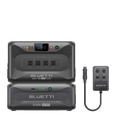
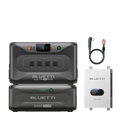
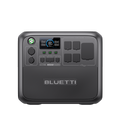
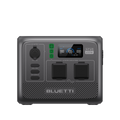
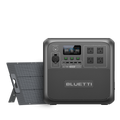
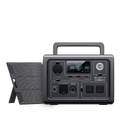
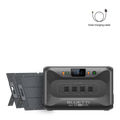
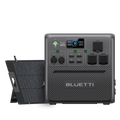
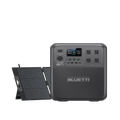
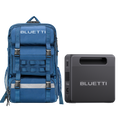
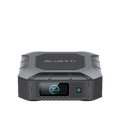
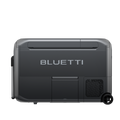
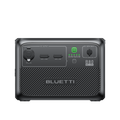
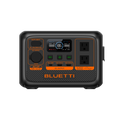
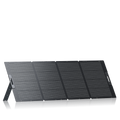
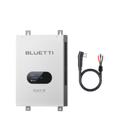
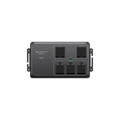
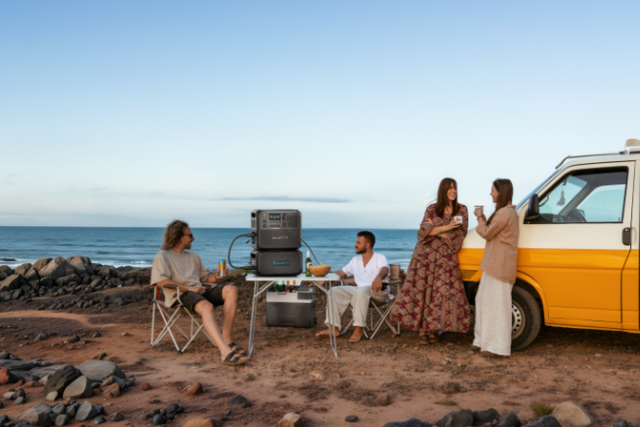
BLUETTI Elite 200 V2 Portable Power Station (2073Wh, 2600W)
Perfect for:
- Running the water pump for long periods
- Powering the RV while flushing the system
- General off-grid water system maintenance
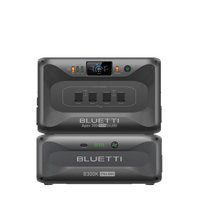
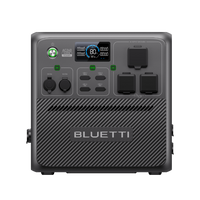
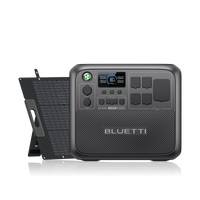
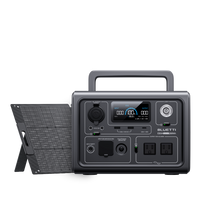
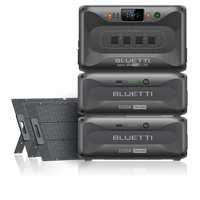
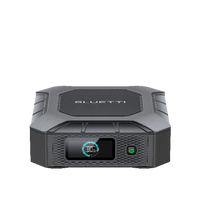
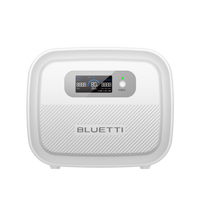
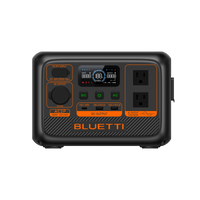
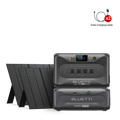
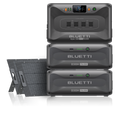
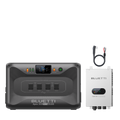
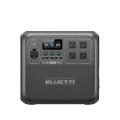
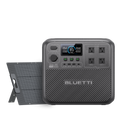
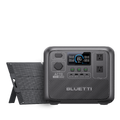
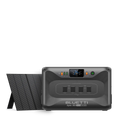
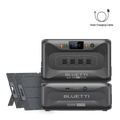
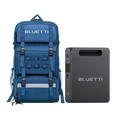
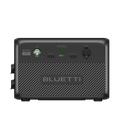
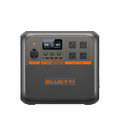
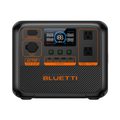
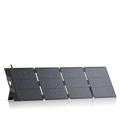
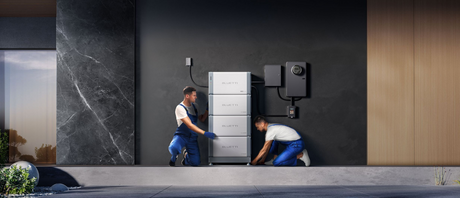
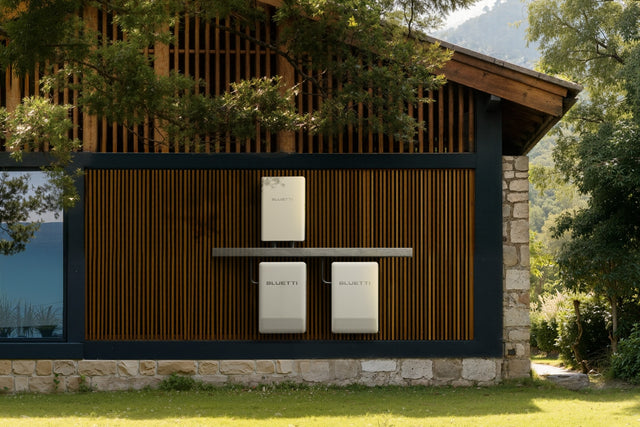
BLUETTI Apex 300 Home Battery Backup (2764.8Wh, 3840W)
Ideal for larger rigs or for sanitizing in remote storage facilities. It delivers reliable, long-lasting power for extended flush cycles. If you've ever tried sanitizing your water system in a national forest campground or a lonely parking lot, having reliable portable power feels like magic.

Conclusion
Sanitizing your RV fresh water tank isn't glamorous, but it's one of the most important maintenance tasks you can perform. A clean system protects your health, your appliances, and your peace of mind every time you fill a bottle, wash your hands, or make morning coffee.
The process comes down to:
- Draining the old water.
- Adding a proper sanitizing mixture.
- Circulating it through the system.
- Letting it sit.
- Flushing until clean.
With good habits—sanitizing every 6–12 months, using clean water sources, and keeping the tank well-maintained—you'll avoid most of the common issues RVers face.
And if you're doing this while boondocking or working without shore power, reliable portable energy from systems like the BLUETTI Elite 200 V2 or Apex 300 can make the job effortless.
Clean water isn't something to compromise on. Sanitize your system regularly, and your RV will reward you with fresh, safe water wherever the road takes you.
Shop products from this article
Be the First to Know
You May Also Like
Arizona RV Parks Guide: Best State & Private Campgrounds


Arizona RV Parks Guide: Best State & Private Campgrounds
30/03/2026
How a Sump Pump Battery Backup Saves Your Basement From Storm: The Complete Guide
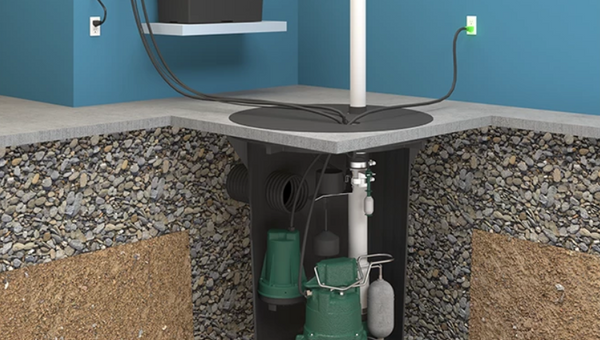

How a Sump Pump Battery Backup Saves Your Basement From Storm: The Complete Guide
28/03/2026
How to Keep Medical Refrigeration Running During Extended Power Outages
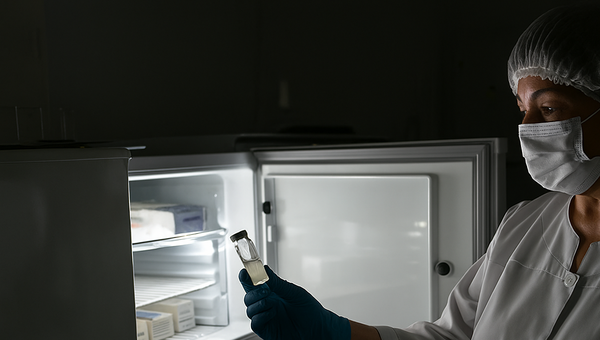

How to Keep Medical Refrigeration Running During Extended Power Outages
25/03/2026
Table of Article


