Your cart is empty
Shop our productsWe're halfway through 2025, and electricity costs are climbing day by day, and they're not slowing down anytime soon. Add in the rising concerns about climate change, and suddenly, finding an affordable, renewable energy source doesn't sound like a "nice-to-have"; it sounds like survival.
There's one solution: building your own residential wind turbine!
Well, the good news is that wind is free, and it is for all. Unlike fossil fuels, the breeze outside your window is free and abundant if you live in the right spot. Harnessing it means you can reduce your bills, shrink your carbon footprint, and become a little less dependent on the grid. And no, you don't have to be an engineer or a millionaire to do it.
Commercial small-scale turbines exist, but of course, they're super pricey. Many models (1–5 kW) run between $3,000 and $5,000. Meanwhile, a DIY build can cost as little as $200 to $1,000, depending on the size and materials you use. That's a massive difference, and for a lot of folks, it makes wind energy actually attainable instead of just another green dream.
And once you've set it up, you're basically creating electricity out of thin air. Literally. Every spin of those blades is a reminder that you're powering your home with nothing but the wind in your backyard. If you're tired of watching your utility bill climb and want to take control in a practical way, building a residential wind turbine is one of the smartest DIY projects you can dive into.
Keep up with me if you want to learn more about this.
The Basics of Wind Turbines
Breaking It Down
Okay, so let's break this down. A wind turbine might look complicated, but it's really just a clever way to squeeze electricity out of moving air. You don't need an engineering degree to understand it, I promise.
How the Parts Work Together
Here's the deal: the blades are your catchers. They grab the wind, and because of their shape, they start spinning smoothly instead of just flapping around like a flag. Those blades spin the rotor, which is basically the "wheel" that everything connects to.
The rotor then drives the generator (often just a modified DC motor if you're building it yourself), and that's where the magic happens. Inside, magnets move past coils of wire, and boom—you've got electricity. Last step? Run that juice through an inverter so it comes out as AC power, the kind your coffee maker, laptop, and fridge actually need.
Is Your Backyard Even a Good Fit?
Now, before you rush to the hardware store, there's one thing you need to know: not every backyard is cut out for this. A residential wind turbine only makes sense if your area has consistent winds. Most turbines start generating power at 6–8 mph, but consistent winds of 9–14 mph are ideal for optimal output. Doesn't have to be a tornado zone—just steady breezes that keep the blades moving. If your yard is consistently calm with no wind, this won't work. But if your trees sway more often than not, you're in business.
How Much Power Can You Expect?
How much power are we talking about? A small DIY setup typically produces 100–1,000 watts, with larger systems (up to 5 kW) possible with higher budgets and taller towers. To put that into perspective, one kilowatt can handle essentials like lights, a TV, and maybe your fridge. Will it replace the grid completely? Probably not, unless you live super lean. But it will knock your costs down and give you a cushion when rates spike or the power company decides to play games.
Why Wind Works Better With Friends
Here's my favorite part: wind doesn't work alone, and that's okay. Some days, your turbine will be cranking out power like a champ. Other days, it'll just sit there. That's why smart homeowners pair wind with solar panels or battery storage. Think of it like having teammates—when the wind takes a day off, the sun fills in, and the batteries make sure you've always got backup.
Bottom line? A turbine is not a science project. It is a practical, realistic method of reducing your reliance on the grid and being a bit more in charge. And believe me, the first time you watch those blades spinning and know that you are creating your own electricity, it is hard to quit.
Materials You'll Need
This is where you roll up your sleeves and gather the necessary components. Some components can be purchased new, while others can be sourced from scrapyards or online marketplaces.
Core Components
- Blades: PVC pipes can surprisingly be used to shape and cut. Moreover, some people prefer to recycle used aluminum or fiberglass.
- Generator (DC motor): This is the heart of your electricity. Treadmill motors or car alternators are often reused by many DIYers.
- Batteries: To save all the sweet, sweet wind power. Lithium or deep-cycle lead-acid batteries can be used.
- Charge controller: Helps prevent excessive charging and keeps it safe.
- Tower: A sturdy 10–30 ft structure. Galvanized steel pipes are popular in terms of durability.
- Wiring & connectors: Essential for connecting everything together.
Optional Extras
- Brake system: To be used when the winds are excessively high.
- Tail vane: Keeps the turbine on the right side.
- Inverter: Only required in case you would like to use normal appliances.
Note: Many of these components can be homemade or obtained secondhand.
Tools You'll Need
You'll need a drill, hacksaw, wrenches, a multimeter for testing voltage, and basic soldering skills."
Step-by-Step Building Guide

Start With the Blades
This is where the magic begins. Your blades are what catch the wind, so don't skimp on design. For a residential wind turbine, blades around 3–5 feet are the sweet spot for a balance of efficiency and size. Longer blades capture more wind but can put more strain on your setup. Shape matters too; curved or angled blades perform way better than flat boards because they "cut" through the air smoothly. You can craft them from PVC pipes (cheap and surprisingly effective) or even repurposed wood or fiberglass if you've got scraps lying around.
Assemble the Hub and Rotor
Next up is attaching those blades to the hub, which is like the central connector piece. The hub holds your blades in place while allowing them to spin the rotor. Think of it like the axle on a bike wheel - it keeps everything balanced and moving together. This part has to be sturdy because the spinning force will test it every time the wind gusts. Bolts, washers, and some patience go a long way here.
Mount the Generator
The rotor's spinning doesn't mean much unless it's driving a generator. Many DIYers use a DC motor for this step, often salvaged from treadmills, scooters, or old appliances. When the rotor spins, the motor generates electricity; it's like running the treadmill backwards, but instead of burning calories, you're making power. Mount the generator securely on your nacelle (the housing at the top of your tower) so it lines up with the rotor.
Add the Tail for Direction
The wind does not always whistle in the same direction, and that is the reason why your turbine must have a tail.
This is a flat sheet of wood or metal, which serves the purpose of a weather vane, so that the blades are automatically turned into the wind. Without it, your wind turbine may spend half the time on the wrong side of the wind and miss some valuable gusts. Make it light and powerful enough to take storms.
Build and Raise the Tower
Now comes the heavy lifting, literally. Your tower needs to elevate the blades above obstacles like trees, houses, or fences. Ten to thirty feet is the sweet spot for a home project. You can use steel tubing, wood posts, or even repurposed scaffolding. The taller your tower, the better the wind access, but make sure you anchor it solidly. Guy wires (steel cables tied to the ground) are a must for stability. Trust me, the last thing you want is your turbine tipping over during its first real storm.
Wire It All Up
Alright, you have blades rotating a rotor...turning a generator, where is the electricity going? Here is where the wiring plays its part. You will use a charge controller to connect your generator to the controller that controls the streaming of the energy so that you do not overcharge your batteries. The power then passes through a battery bank, where it is stored. Lastly, power it via an inverter in order to extract regular AC power, the kind that your domestic appliances accept.
Don't Forget Safety Features
Here's a pro tip most people skip: include a braking system or some way to slow the blades in high winds. Without it, your turbine could spin out of control and damage itself. A simple mechanical brake or even a furling tail (which turns the blades out of the wind during storms) can save you a ton of headaches down the road.
Test Before You Trust It
Test everything before you celebrate. Begin when it is windy and observe the performance of the turbine. Are the blades balanced? Does the generator generate a steady voltage? Are your batteries being charged? This test run assists you in clearing the wrinkles before you can count on it to keep giving you service every day.
The Payoff
Admittedly, a bit of elbow grease is involved, but as soon as that turbine is rotating and your meter is displaying stored energy, you will feel like you have found a cheat code to home power. Self-assembly does not merely help you to save money: it also provides you with the power to decide how to produce the energy. And that will outdo the dollars you will cut off your bill.
Installation Considerations

Before you start drilling holes in your yard, let's talk logistics.
Permits and Zoning
Check your local laws. Some municipalities require permits for towers over a certain height. Noise ordinances may also apply, even though small turbines aren't too loud.
Site Assessment
Use online wind maps to see if your property is suitable. Ideally, the turbine should be taller than nearby trees or roofs, since obstacles slow the wind.
Grid-Tie or Off-Grid?
You can either connect your residential wind turbine to the power grid (offsetting your utility bill) or keep it off-grid with battery storage. Hybrid systems that combine wind and solar are often the most reliable.
Costs and Efficiency
One of the biggest appeals of a DIY turbine is affordability.
DIY Costs
A small installation to produce 100-1,000W will cost between $200 and $1,000. That is a significant saving compared to the $3,000 on a commercial turbine of equal power.
Efficiency Factors
- Wind speed consistency: The steadier, the better.
- Turbine size: Using large blades and tall towers will help generate more power.
- Storage: Energy isn't wasted when you're working with good-quality batteries.
Payback Period
With consistent wind and high electricity rates, the majority of homemade turbines recoup in 5-10 years. It's even faster if you resort to energy-conserving practices and appliances.
Pros, Cons, And Tips
Why It's Worth It
- Renewable energy after setup, which is absolutely free.
- Lower electricity bills.
- Fun, educational DIY project.
Downsides to Expect
- Variable output (depends on the weather).
- Maintenance is required (lubrication, checking wires, tightening bolts).
- Some noise, though small systems aren't too bad.
Tips for Success
- Start small to learn before scaling up.
- Follow tutorials and diagrams—YouTube is your friend.
- Test in moderate winds first before permanent installation.
Wrapping It Up
Assembling your own residential wind turbine is not only an energy cost-saving measure, but it is also a mini-revolution against the high bills and a move towards a sustainable life. Of course, it requires some work, but the moment you plug in your machines with home wind electricity, you will realize it was worth it.
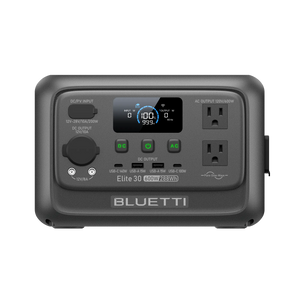
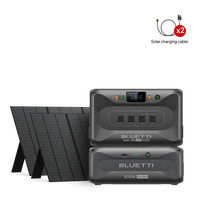
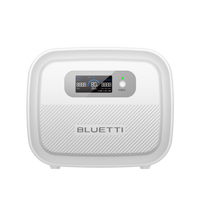
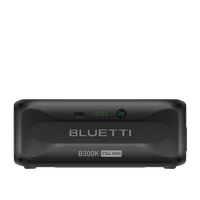
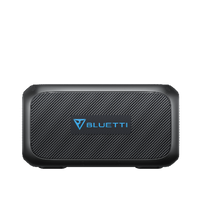
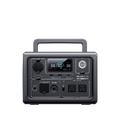
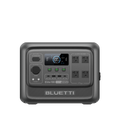
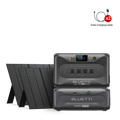
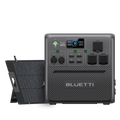
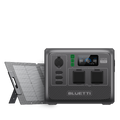
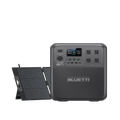
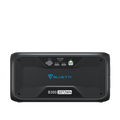
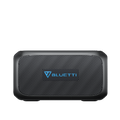
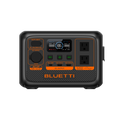
If you're serious about storing and using the energy efficiently, you'll need reliable power stations.

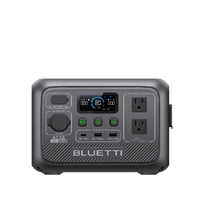
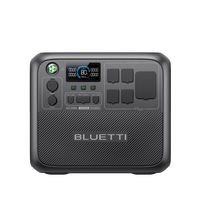
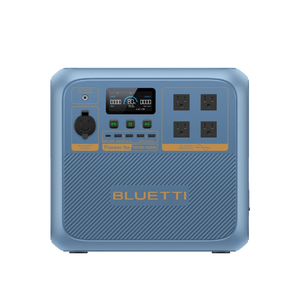
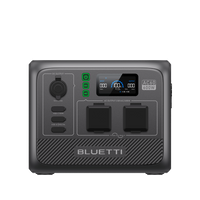
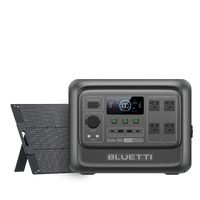
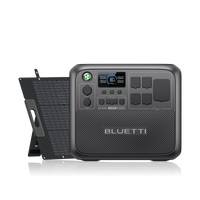
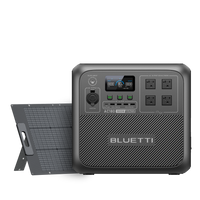
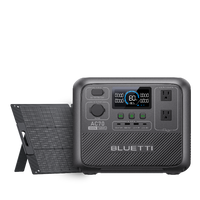
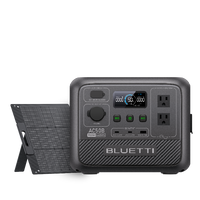
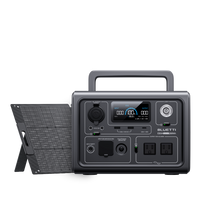
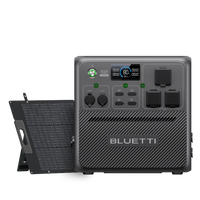
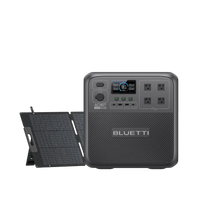
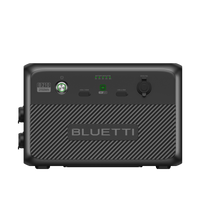
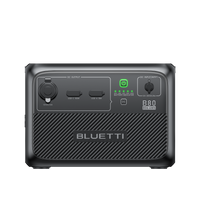
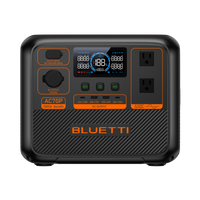
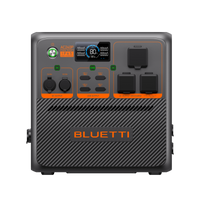
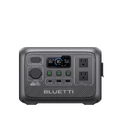
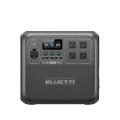
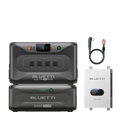
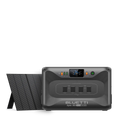
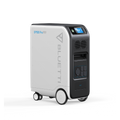
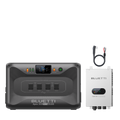
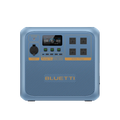
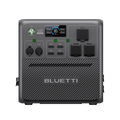
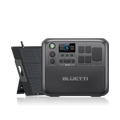
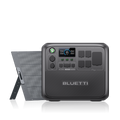
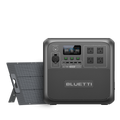
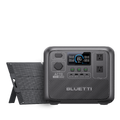
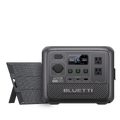
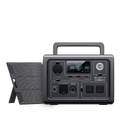
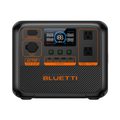
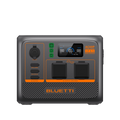
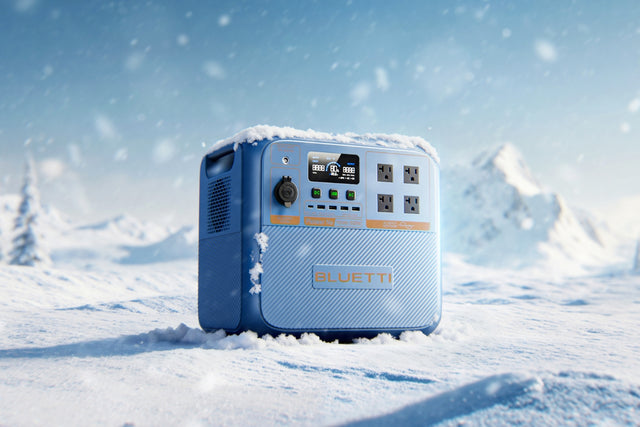
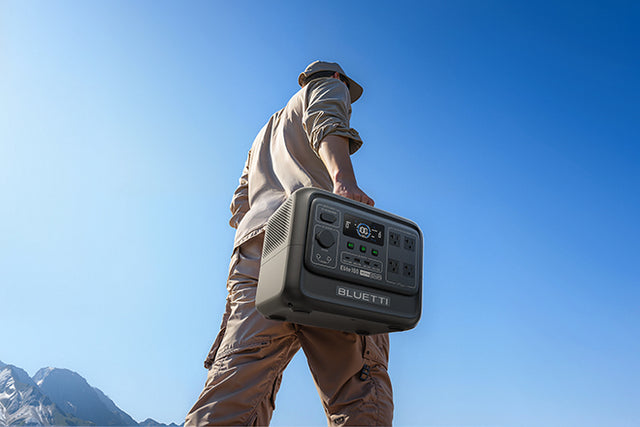
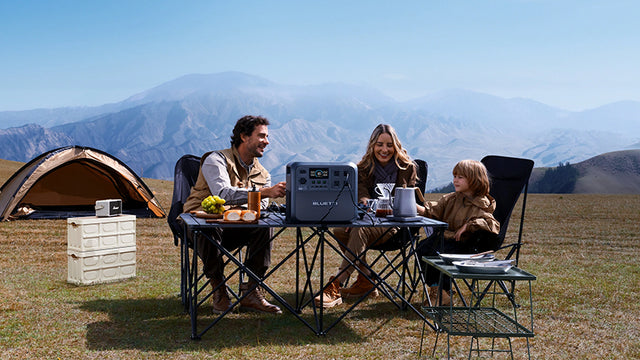
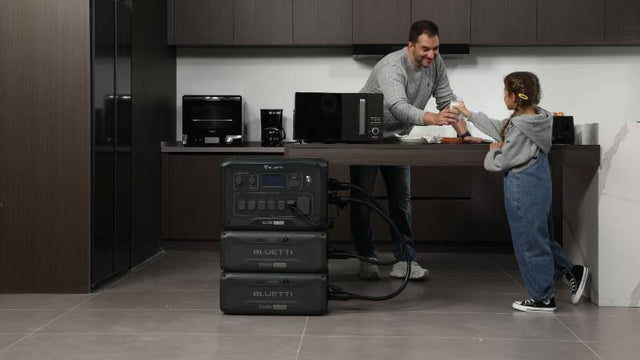
The Elite 100 V2 is the best choice when you want lightweight and powerful storage. Its 1800W output, a LiFePO₄ battery with more than 4,000 cycles, and a small size make it the perfect match to a DIY turbine. Its pass-through charging option ensures continuous power when charging is needed.

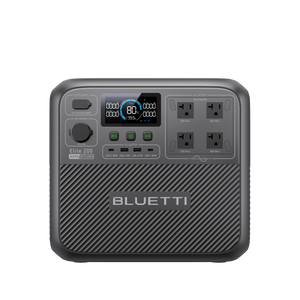
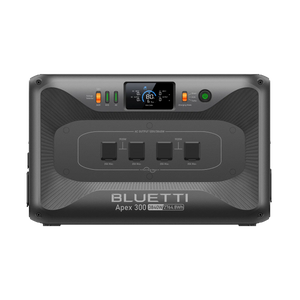
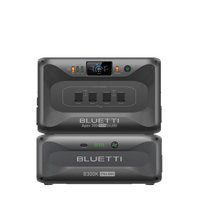
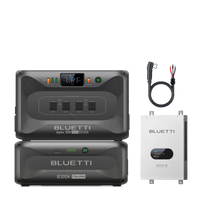
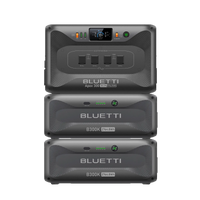
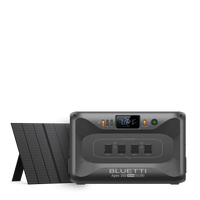
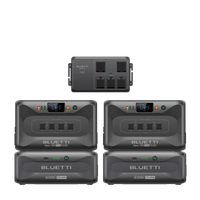
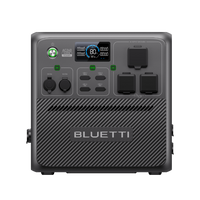
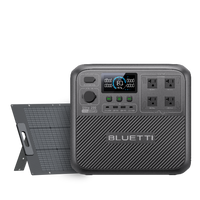
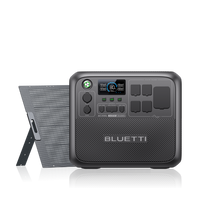
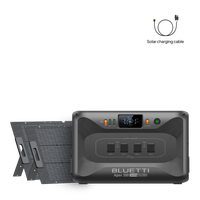
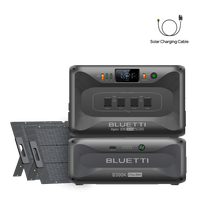
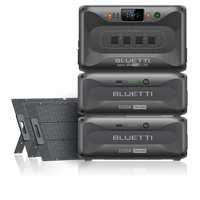
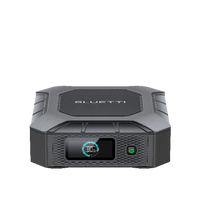
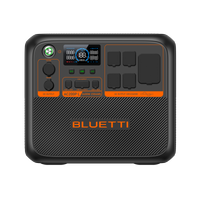
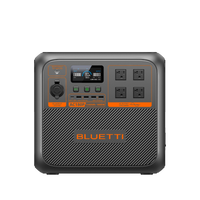
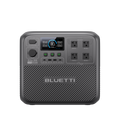
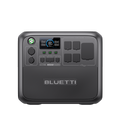
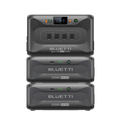
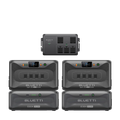
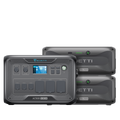
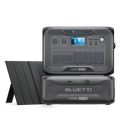
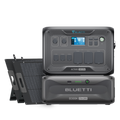
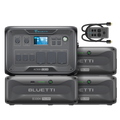
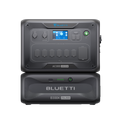
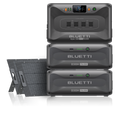
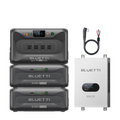
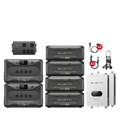
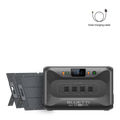
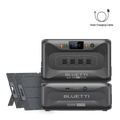
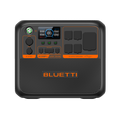
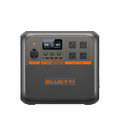
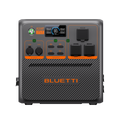
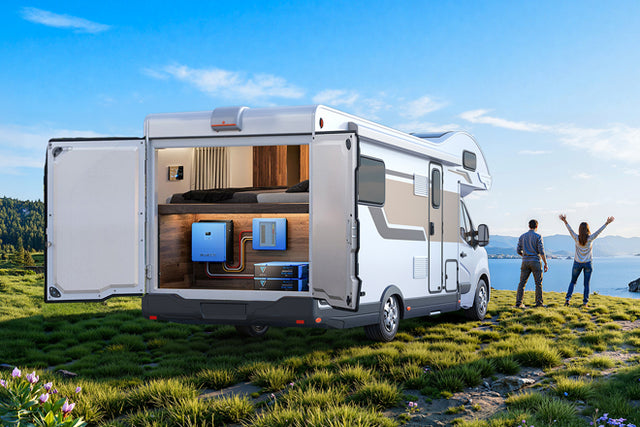
The Apex 300 is a monster when it comes to bigger needs. It comes with a capacity of 2,764.8Wh, 3,840W output, and can be extended to 58 kWh of whole-home backup. The smooth 0ms UPS service is sure to keep your devices going through the outage, and the modular design is such that you can add to it in the future.
Combining your residential wind turbine with one of these systems will transform your DIY into a useful, daily power source.
Shop products from this article
Be the First to Know
You May Also Like

When Is Deer Season In Missouri: Key Dates, Rules, Tips, and More

Is Starlink Faster Than 5G? Let's Break It Down

